Let’s talk about comfort. Not the fuzzy socks or soft-blanket kind—though I love those, too—but the straight-from-the-oven, buttery, melty, handheld kind. These baked ham and cheese sandwiches are that kind of comfort. They’re crispy on the outside, gooey on the inside, and just the kind of thing I’d bring to a picnic, game night, or one of those ‘everyone’s-hungry-and-I-have-no-time’ moments. You might not believe how easy they are to throw together. I mean, who knew that a few simple ingredients—like Hawaiian rolls, deli ham, and Swiss cheese—could make something this wildly addictive? It’s like the universe handed us a cheat code for sandwiches. Whether you’re a die-hard fan of Barbecue Beef Sandwiches or one of those genius folks who swears by their Camping Sandwiches Pie Irons, you’ll appreciate how these little oven-baked sliders check every box. And if you’ve got leftovers from White Chicken Chili With Cream Cheese night? Pair them. It’s magic. Just like a Cucumber Smoothie after a long day or indulging in Coconut Cream Ice Cream after dinner. These sandwiches? A keeper.
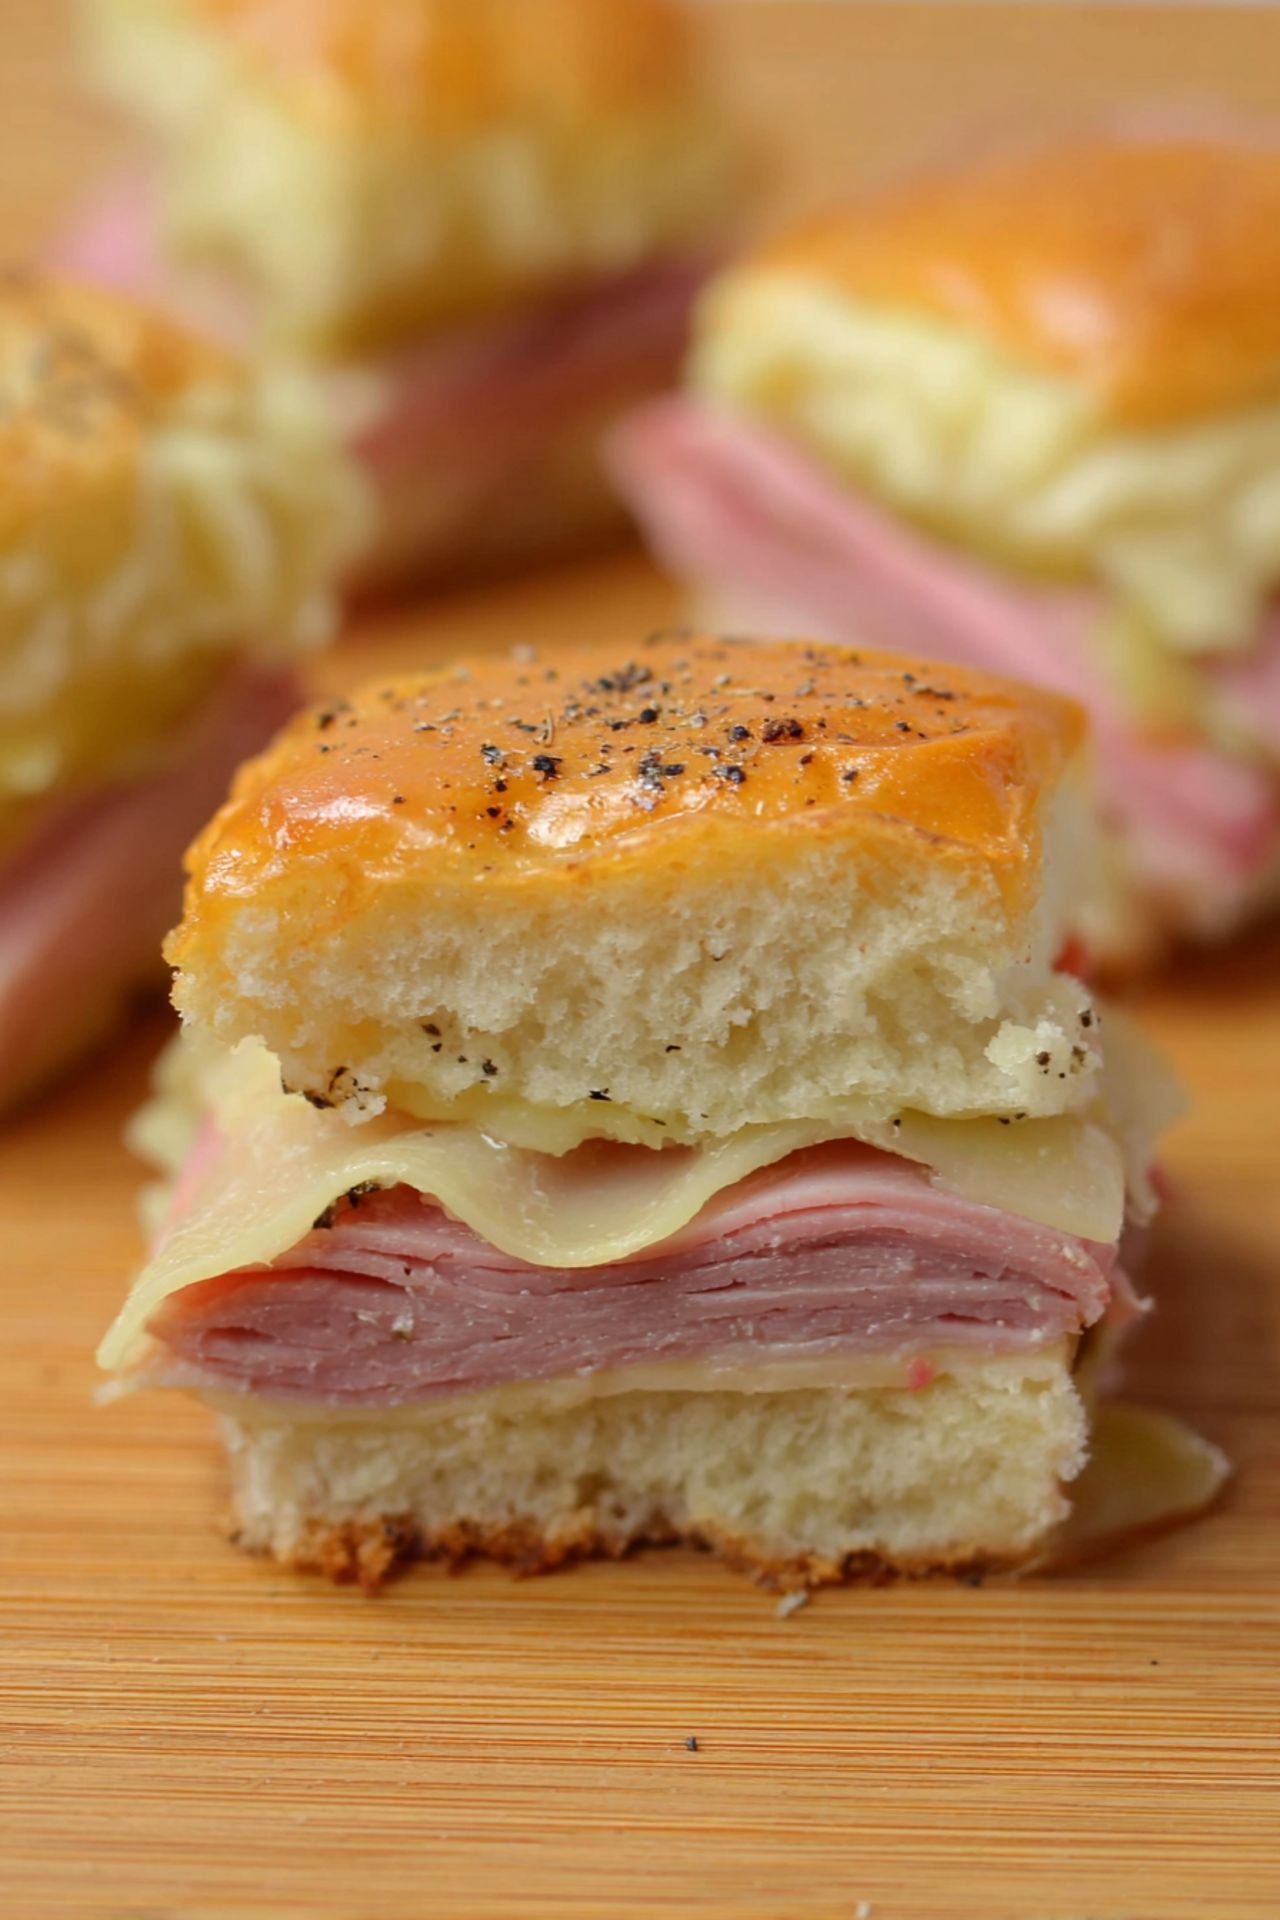
Table of Contents
- 1) Key Takeaways
- 2) Easy Baked Ham and Cheese Sandwiches Recipe
- 3) Ingredients for Baked Ham and Cheese Sandwiches
- 4) How to Make Baked Ham and Cheese Sandwiches
- 5) Tips for Making Baked Ham and Cheese Sandwiches
- 6) Making Baked Ham and Cheese Sandwiches Ahead of Time
- 7) Storing Leftover Baked Ham and Cheese Sandwiches
- 8) Try these Snack Recipes next!
- 9) Baked Ham and Cheese Sandwiches
- 10) Nutrition
1) Key Takeaways
- These sliders are perfect for gatherings, game nights, or quick meals.
- Uses simple ingredients but delivers big on flavor and texture.
- Great to prep ahead and bake fresh when ready to serve.
- The buttery topping adds a rich, savory layer that makes these sandwiches unforgettable.
2) Easy Baked Ham and Cheese Sandwiches Recipe
When I need to feed a crowd or just want something warm and melty fast, I turn to these baked ham and cheese sandwiches. They’re not just easy. They’re satisfying in a way that feels like a hug between two slices of bread. I make them with Hawaiian rolls, which add a little sweetness, then pile on slices of deli ham and Swiss cheese. The magic happens when you pour a seasoned butter mixture over the top and bake them until they’re golden and bubbling.
Now, I’ve tried plenty of slider recipes, but these win hands-down. They’re cozy, savory, and easy to make without a lot of fuss. They also check every box on the “comfort food” list. If you’re someone who appreciates the convenience of White Chicken Chili With Cream Cheese or the laid-back fun of Camping Sandwiches Pie Irons, this one’s going to earn a spot on your regular rotation.
Let’s not forget how these hold up as leftovers. You’d think sliders wouldn’t reheat well, but they do. Especially when wrapped tightly and popped back in the oven. They even rival some of my favorite Cucumber Sandwiches With Cream Cheese in terms of versatility and prep-ahead value.
3) Ingredients for Baked Ham and Cheese Sandwiches
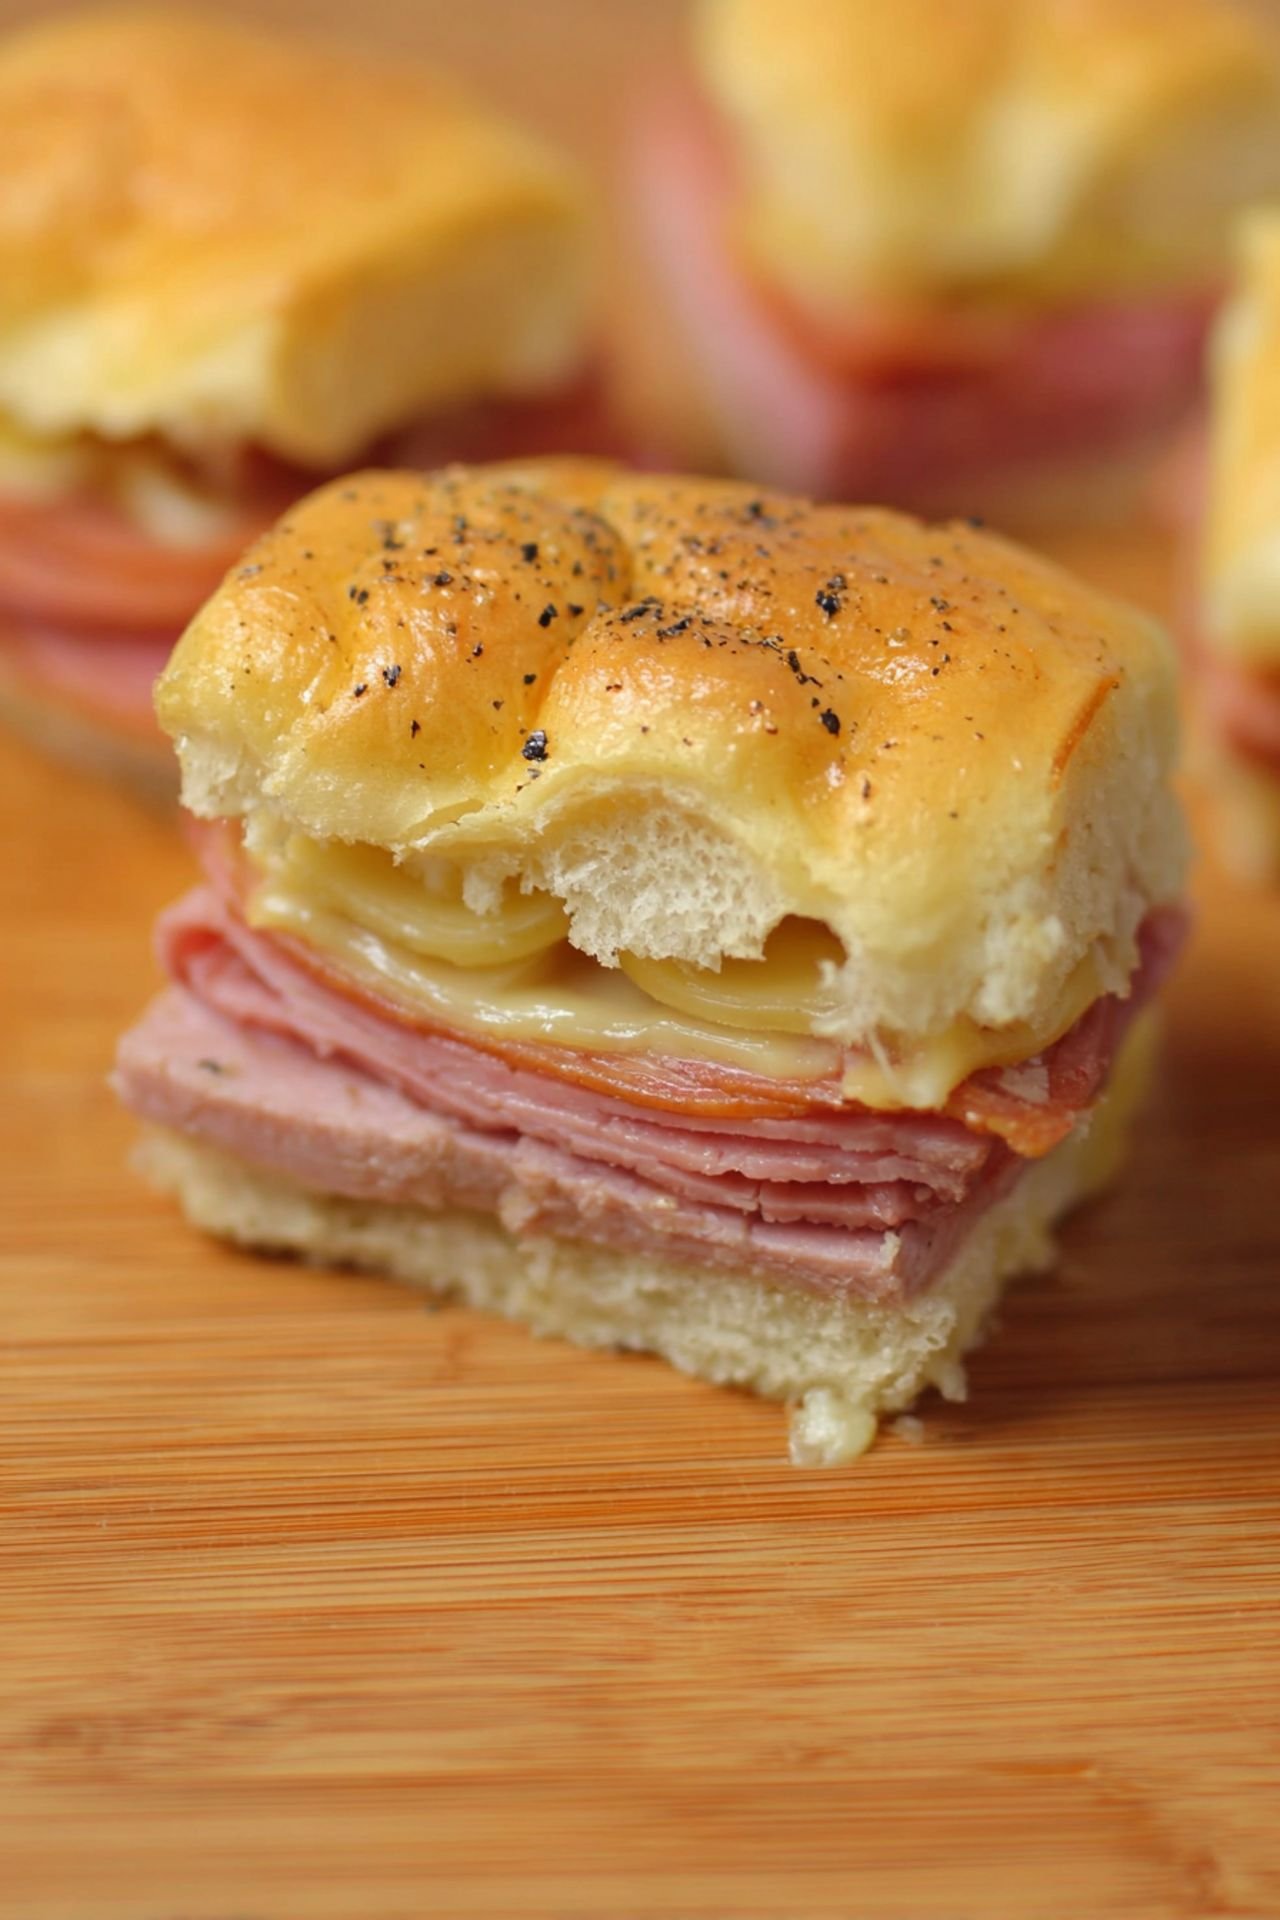
Hawaiian Rolls: These soft, slightly sweet rolls make a perfect base. Their tender crumb holds everything together without getting soggy. They add a nice contrast to the savory filling.
Deli Ham: Go with thinly sliced ham. You can use honey ham for a sweeter bite or smoked ham if you like deeper flavor. I usually grab whatever’s on sale at the deli counter and never regret it.
Swiss Cheese: The cheese melts beautifully and balances the saltiness of the ham. You could swap it for cheddar or provolone, but Swiss gives it that classic flavor.
Butter: Melted butter is the base of our sauce. It soaks into the rolls, crisps up the tops, and gives that rich, comforting taste.
Dijon Mustard: Adds a touch of sharpness and cuts through the richness. You don’t need much, but it makes a difference.
Worcestershire Sauce: Just a bit deepens the flavor. It gives the sandwiches a little umami and ties the savory notes together.
Poppy Seeds: These add a hint of texture and a little visual flair. They’re optional, but I like the crunch.
Onion Powder: It adds a mellow flavor that complements the meat and cheese without overpowering them.

4) How to Make Baked Ham and Cheese Sandwiches
Step 1. Preheat your oven to 350°F. This lets it warm up while you build the sandwiches. Grab a 9×13 baking dish—it fits 12 sliders perfectly.
Step 2. Slice the Hawaiian rolls in half without separating them individually. Lay the bottom halves into the dish. Don’t worry if they’re packed tightly. That’s what helps them stay soft and gooey inside.
Step 3. Layer the deli ham evenly across the rolls. Try not to overthink it. Just spread it out so every sandwich gets some meat.
Step 4. Lay a slice of Swiss cheese over the ham. If your cheese slices are big, cut them in halves or quarters to keep things neat.
Step 5. Place the tops of the rolls back on. Give them a gentle press, just enough to settle everything together.
Step 6. In a small bowl, whisk melted butter, Dijon mustard, Worcestershire sauce, poppy seeds, and onion powder. Pour this mix evenly over the sandwiches. Don’t skip the edges—every roll deserves some of that goodness.
Step 7. Cover the dish with foil and bake for 15 minutes. Then uncover and bake for 5 more to crisp the tops. Pull them when the tops are golden and the cheese bubbles.

5) Tips for Making Baked Ham and Cheese Sandwiches
Let your butter mixture cool just slightly before pouring. Hot butter can melt the top buns too quickly and make them soggy instead of crisp. Wait a minute or two, then pour slowly.
Covering the pan during the first part of baking keeps everything soft and lets the cheese melt evenly. Uncovering at the end helps you get that golden top without drying anything out.
Use parchment paper under the sandwiches for easier cleanup. It helps with serving too, since nothing sticks to the bottom of the pan. You’ll thank yourself when it’s time to wash dishes.
6) Making Baked Ham and Cheese Sandwiches Ahead of Time
Planning ahead? These sandwiches are perfect for that. You can build the whole tray a few hours early, wrap it tightly in foil, and stick it in the fridge. When it’s time to eat, just bake straight from the fridge—no extra steps.
Want to go even further? Mix the butter topping and store it separately. Just reheat it gently and pour it over the rolls before baking. That gives you flexibility without losing any flavor.
If you’re serving these for a party, prep early, then relax. These are the kind of thing you want waiting in the fridge, not scrambling to throw together when the guests arrive.
7) Storing Leftover Baked Ham and Cheese Sandwiches
Leftovers keep well in the fridge for up to three days. Wrap them tightly in foil or pop them in a sealed container. When you’re ready to eat, reheat in the oven at 300°F until warm.
Microwave works too, though you’ll lose that crispy top. I usually do a quick blast to warm it through, then pop it in a toaster oven for a few minutes to get the edges crunchy again.
These make a great second-day lunch. Just don’t forget to pack a napkin. The buttery filling gets gooey again when reheated, and you’ll want to soak up every bite.
8) Try these Snack Recipes next!
9) Baked Ham and Cheese Sandwiches

Cucumber Sandwiches With Cream Cheese Baked Ham and Cheese Sandwiches
Ingredients
- 12 Hawaiian rolls, sliced in half
- 3/4 pound deli ham, thinly sliced
- 12 slices Swiss cheese
- 1/2 cup (1 stick) butter, melted
- 1 tablespoon Dijon mustard
- 1 tablespoon Worcestershire sauce
- 1 tablespoon poppy seeds
- 1/2 teaspoon onion powder
Instructions
- Preheat your oven to 350°F (175°C).
- Place the bottom halves of the rolls in a 9×13-inch baking dish.
- Layer the ham evenly over the bottom halves, then top each with a slice of cheese.
- Place the tops of the rolls over the cheese.
- In a bowl, whisk together the melted butter, Dijon mustard, Worcestershire sauce, poppy seeds, and onion powder.
- Pour the butter mixture evenly over the sandwiches.
- Cover the dish with foil and bake for 15 minutes.
- Remove foil and bake for another 5 minutes, or until tops are slightly crispy and golden.
- Serve warm and try not to eat half the pan alone. No judgment if you do.
10) Nutrition
Serving Size: 1 slider, Calories: 320, Sugar: 4 g, Sodium: 580 mg, Fat: 18 g, Saturated Fat: 9 g, Carbohydrates: 24 g, Fiber: 1 g, Protein: 14 g, Cholesterol: 45 mg
Written by Eleanor from Eleanor Cooks


Leave a Comment