
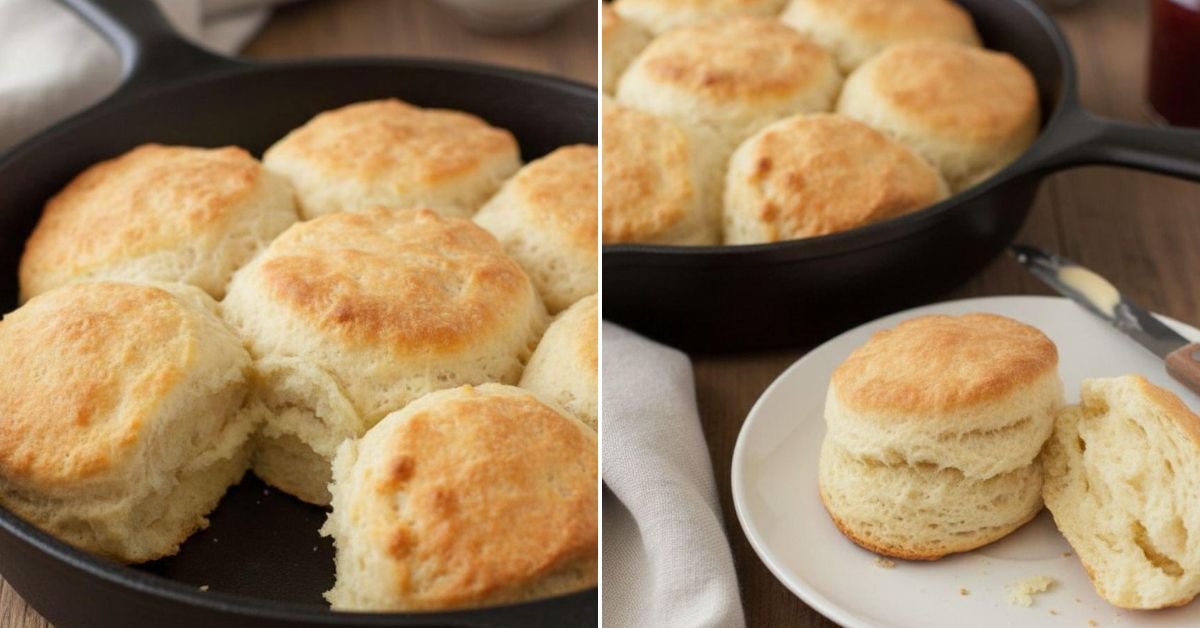
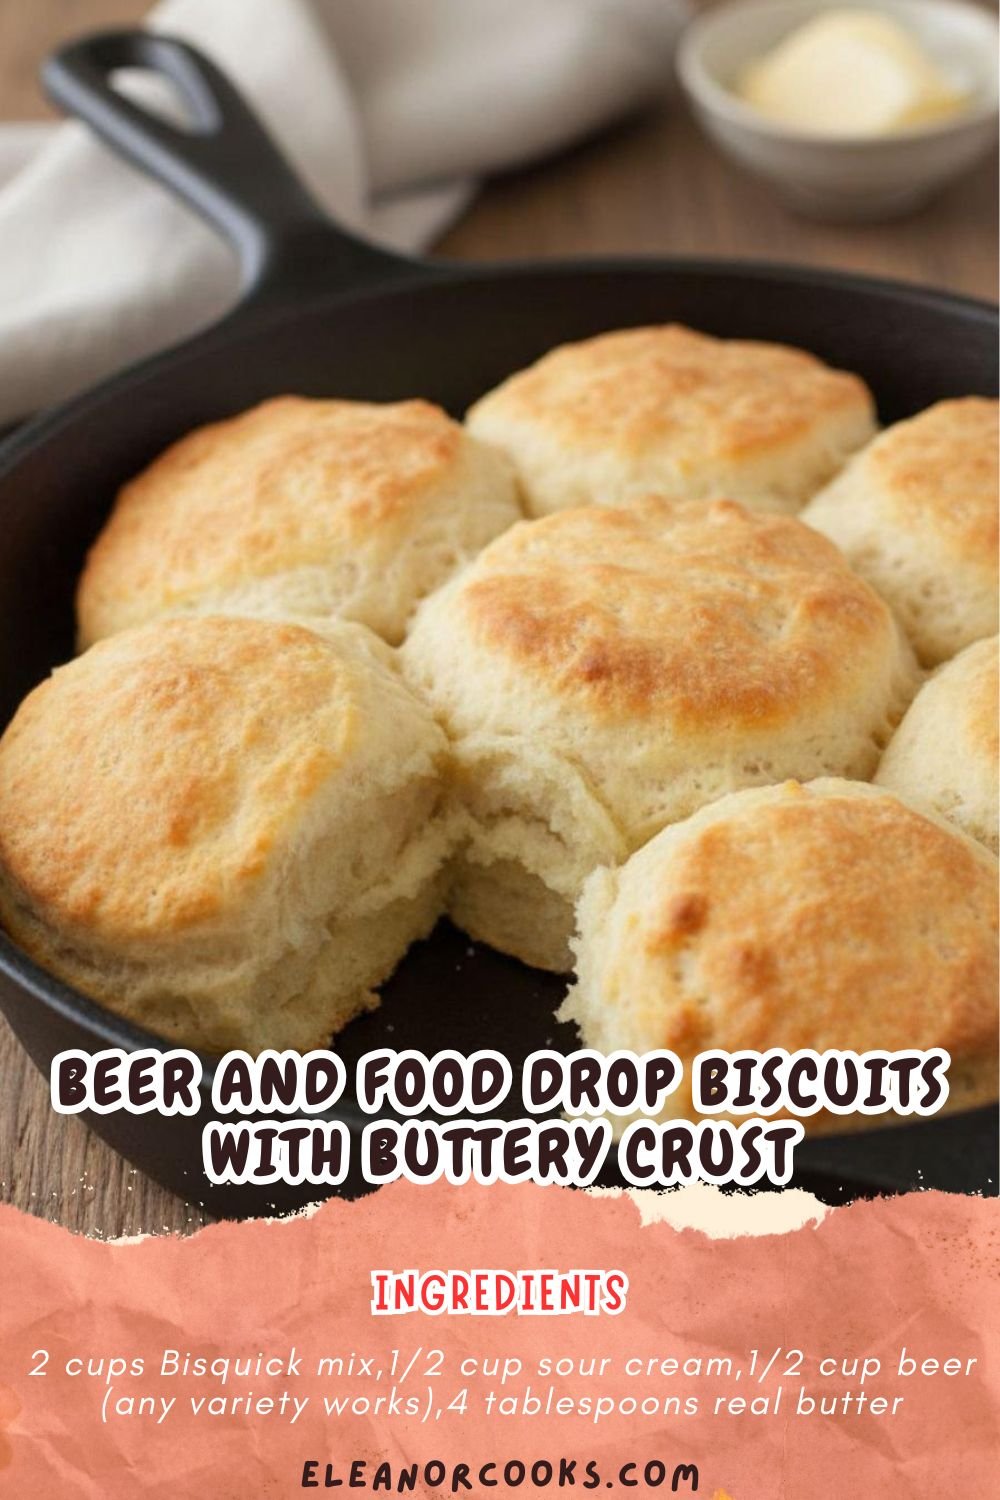
I stumbled into this recipe completely by accident, and honestly, I’m so glad I did. These beer biscuits came about when I was trying to make the classic 7-Up version, but grabbed a cold one from the garage fridge instead. What I ended up with was pure comfort on a plate—fluffy, buttery pillows with crispy golden bottoms that everyone keeps asking me to make again. The beauty of this recipe is its simplicity. Just four ingredients you probably already have hanging around your kitchen, and they come together in about 25 minutes. The beer adds a subtle depth that regular pop just can’t match. You’ll get between 7 and 9 biscuits depending on how you cut them, each one golden and perfect for soaking up sausage gravy, spreading with jam, or just eating plain with a pat of honey butter. Seriously, once you try these, you might never go back to store-bought.
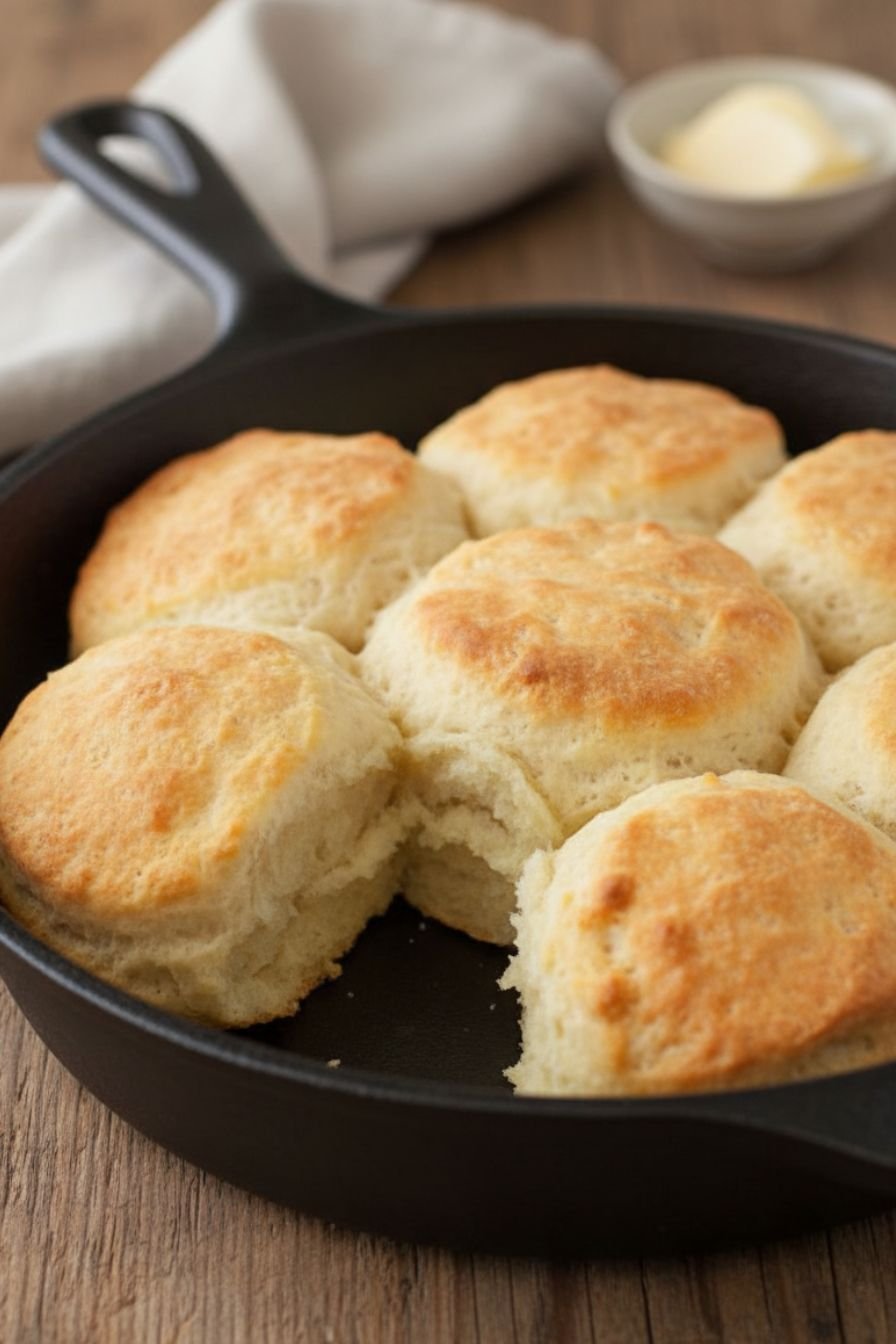
Table of Contents
- 1) Key Takeaways
- 2) Easy Beer And Food Biscuits Recipe
- 3) Ingredients for Beer And Food Biscuits
- 4) How to Make Beer And Food Biscuits
- 5) Tips for Making Beer And Food Biscuits
- 6) Making Beer And Food Biscuits Ahead of Time
- 7) Storing Leftover Beer And Food Biscuits
- 8) Try these Breakfast Ideas next!
- 9) Beer And Food Biscuits Recipe
- 10) Nutrition
1) Key Takeaways
- What makes beer and food biscuits different from regular biscuits?
- Can you make beer bread recipe using Bisquick mix?
- What are the best beer snacks to serve with dinner?
- How do you get a crispy bottom crust on drop biscuits?
- What’s the quickest beer recipe for busy weeknights?
2) Easy Beer And Food Biscuits Recipe
I discovered these beer and food biscuits completely by accident, and I’m still amazed at how something so simple turned out to be one of my favorite comfort foods. I was trying to recreate those classic 7-Up biscuits my family always loved, but I grabbed a cold beer from the fridge instead. What happened next was pure kitchen magic.
The beauty of these beer recipes is that they come together in under 30 minutes with just four ingredients you probably already have in your kitchen right now. No fancy equipment needed, no complicated steps, just straightforward baking that anyone can pull off. Whether you’re cooking for a crowd or just want something warm for breakfast, these biscuits deliver every single time.
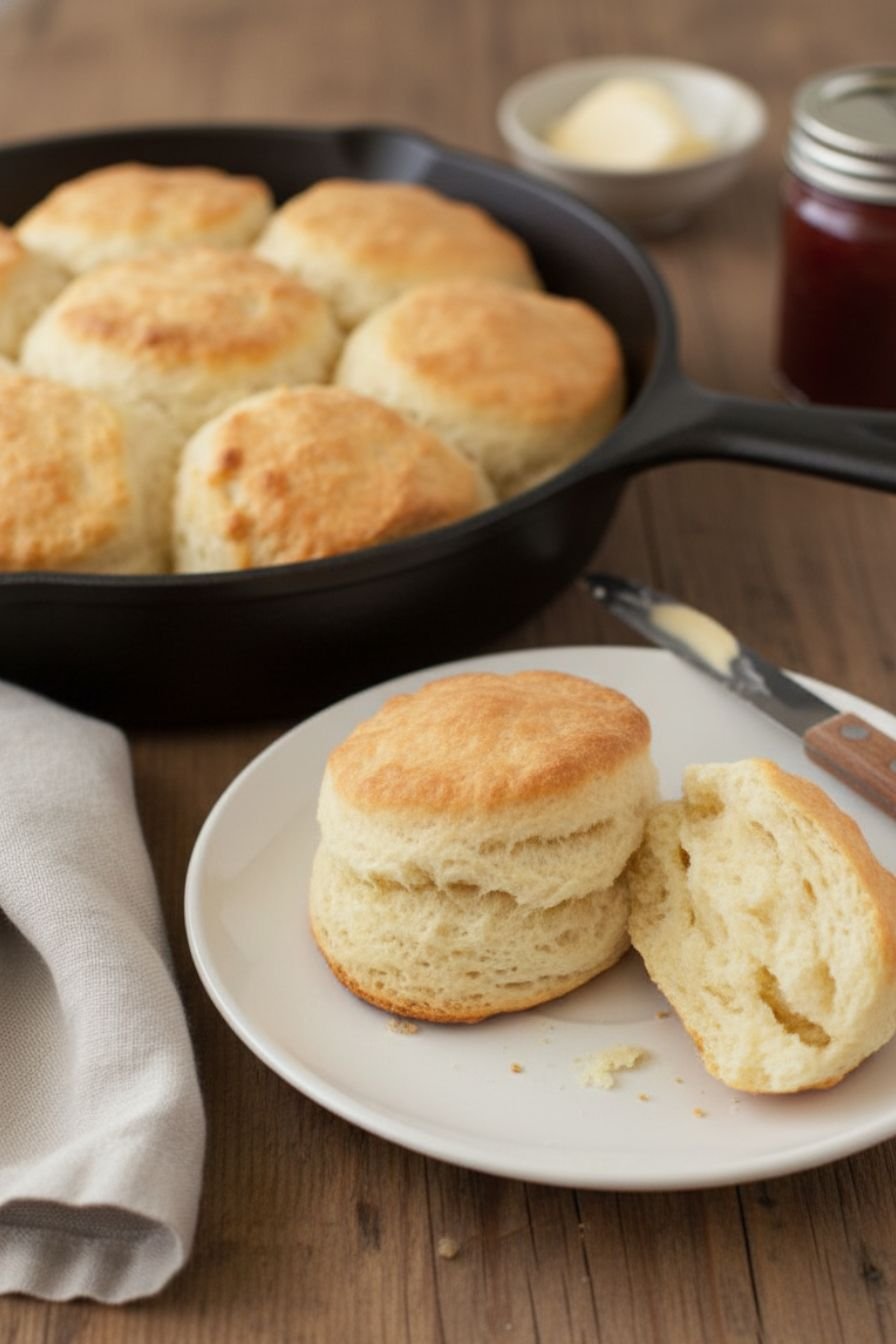
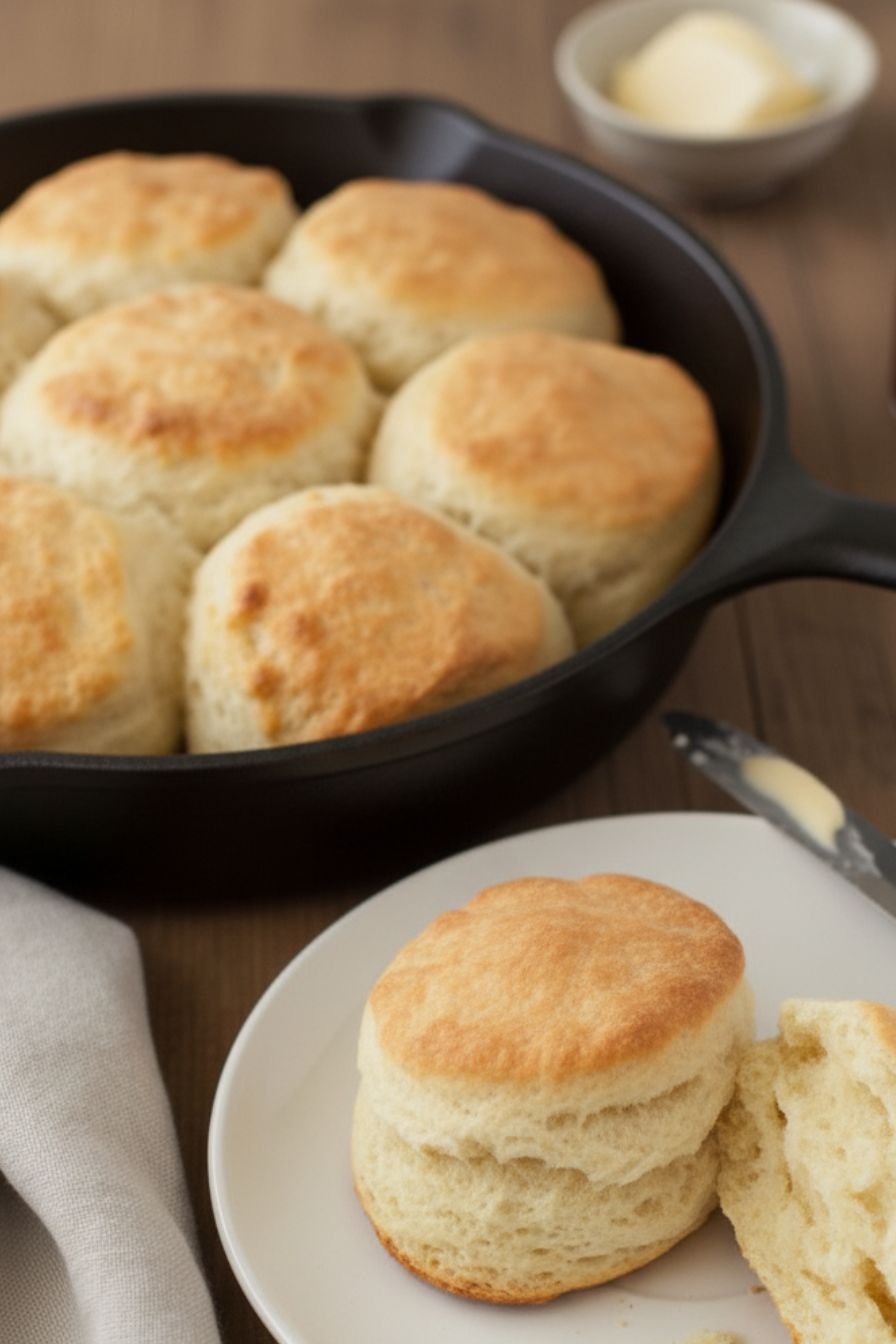
These beer snacks become absolutely irresistible when they emerge from the oven with golden brown tops and those crispy, buttery bottoms that shatter when you bite into them. The dough rises up and creates these fluffy clouds inside while the butter underneath creates a crust that’s honestly restaurant quality. Your family won’t believe you made these at home.
The beer adds a depth you don’t get with regular pop or plain milk based biscuits. It’s subtle but noticeable, giving these beer bread recipe biscuits character without making them taste like a brewpub. You can use light lagers for a gentle flavor or darker beers for something more robust. The choice is yours.
3) Ingredients for Beer And Food Biscuits
Bisquick Mix is the backbone of this recipe. You’ll need two cups of this convenient biscuit mix, which saves you from measuring out flour, baking powder, salt, and all those individual components. Any brand of Bisquick works just fine, or you can grab store brand alternatives if that’s what you have. This mix does all the heavy lifting for you, making the process incredibly straightforward and reliable every single time you make it.
Sour Cream brings tanginess and moisture to your beer and food dough. You’ll use half a cup of regular or low fat sour cream. Don’t use the fat free version because it won’t give you the same tender texture and rich flavor you’re looking for. The sour cream cuts through the Bisquick in a way that creates these beautiful flaky layers that make each bite so satisfying.
Beer is what makes this recipe special and different from every other drop biscuit out there. Pour in half a cup of your favorite brew. Light lagers keep things subtle and crisp, darker beers create richer flavors and deeper color, while hoppy varieties bring those distinctive notes right into your biscuits. Any beer works, but pick something you’d actually enjoy drinking because the flavor carries through.
Real Butter is non negotiable for the pan. You need four tablespoons of genuine butter to create that signature crispy crust on the bottom. The biscuits bake in this melted butter which creates layers of flavor and texture you simply can’t get with margarine or butter substitutes. This ingredient is where the magic happens.

4) How to Make Beer And Food Biscuits
Step 1 starts with preheating your oven to 450 degrees. This high heat is crucial for getting those biscuits to rise quickly and develop golden brown tops. Don’t skip this step or rush it. A properly heated oven makes the difference between biscuits that are just okay and ones that are absolutely incredible. Give your oven a full ten minutes to reach temperature before you move forward.
Step 2 involves combining your dry ingredients. Pour the two cups of Bisquick into a large mixing bowl. Cut in the sour cream using a spatula or fork until the mixture looks rough and crumbly, kind of like wet sand. You’re not trying to make it smooth. You want to see little pockets and clumps throughout because those create the flakiness you’re after.
Step 3 is when the magic ingredient comes in. Pour half a cup of beer into your Bisquick and sour cream mixture. Stir it together gently until everything is just combined. Don’t overmix here. The dough will look sticky and soft, and that’s exactly right. This isn’t a dough you need to knead or work extensively.
Step 4 requires melting butter in your baking pan. Put three tablespoons of butter into a nine inch round or square cake pan and place it in your preheated oven for about two minutes until the butter is melted and the pan is hot. This step is important because the hot pan combined with melted butter creates that gorgeous crispy crust.
Step 5 is where you work with your sticky dough. Dust your countertop generously with Bisquick because this dough is stickier than you might expect. Pat the dough out flat on your work surface and sprinkle the top with more Bisquick to keep it from sticking to your cutter. Use a biscuit cutter or even a sharp knife to cut out seven to nine biscuits depending on the size you prefer.
Step 6 brings everything together. Carefully drop your cut biscuits into that hot melted butter in your pan. Melt that remaining tablespoon of butter and drizzle it over the tops of your biscuits. This ensures every surface gets that beautiful buttery coating that makes them so delicious.
Step 7 is the final push. Slide the pan into your 450 degree oven and bake for 12 to 15 minutes until the tops are golden brown and the edges have started to brown slightly. The biscuits will grow together as they bake, which is perfectly normal and actually creates this beautiful presentation when you serve them.
5) Tips for Making Beer And Food Biscuits
Your choice of beer really does matter more than you might think. Light lagers give you a clean, subtle backdrop that lets the butter shine through. Darker beers create a more pronounced flavor and actually darken the color of your finished biscuits slightly. Hoppy beers bring those distinctive bitter notes that some people absolutely love. Start with whatever you have and experiment from there to find your favorite combination.
Don’t skip the step of preheating your oven completely. This isn’t one of those situations where you can just turn it on as you start cooking. Those 450 degrees are essential for the rapid rise that makes biscuits light and fluffy. A cold oven will give you dense, heavy results that won’t make you happy.
Keep your butter cold until you’re ready to use it. Some baking requires cold butter cut into tiny pieces, but this recipe works differently. You melt the butter in the hot pan, which creates that wonderful texture. Having the biscuit dough ready to drop in means you catch the butter at exactly the right temperature for baking.
Don’t overmix your dough when you combine the ingredients. The moment everything comes together and you don’t see any dry Bisquick, you’re done. Overmixing toughens the dough and creates dense biscuits instead of fluffy clouds. Mix just enough to combine and then move on.
If your dough seems too wet, dust it with a bit more Bisquick rather than trying to knead it. This dough is supposed to be soft and sticky. That’s what creates the tender crumb in the finished biscuit. Fight the urge to make it firmer or easier to handle.
6) Making Beer And Food Biscuits Ahead of Time
These beer bread recipe biscuits are perfect for make ahead planning because they hold up beautifully in the refrigerator. You can prepare your dough the night before and keep it covered in a bowl in your fridge. When you’re ready to bake, just remove it from the cold, let it sit for five minutes to warm up slightly, and then proceed with cutting and baking as normal. The flavor actually improves when the ingredients have time to mingle together overnight.
Another option is to cut your biscuits and arrange them in your buttered pan, then cover the whole thing with plastic wrap and refrigerate overnight. The next morning, you just pop it straight into your preheated 450 degree oven. Add maybe an extra minute or two to the baking time since the biscuits will be starting from a cold temperature. This method is incredibly convenient for breakfast gatherings or holiday mornings.
You can even freeze unbaked biscuits in your buttered pan for up to three months. Just cover them tightly with plastic wrap and then foil. When you’re ready to bake, transfer them to your hot buttered pan and add two to three extra minutes to the baking time. The longer bake time ensures they cook all the way through while developing that beautiful golden color.
7) Storing Leftover Beer And Food Biscuits
Room temperature storage works great for the first day or two. Keep your biscuits in an airtight container or covered breadbox on your counter. They stay fresh this way and maintain that crispy crust. You can enjoy them straight from the container without any reheating if you prefer.
For longer storage, keep your biscuits in an airtight container in the refrigerator for up to a week. They hold up remarkably well and don’t dry out like you might expect. When you want to eat them, simply warm them in a 350 degree oven for five minutes and they taste freshly baked all over again. The butter flavor stays strong and the texture returns to that soft, fluffy state.
Freezing is an excellent option for keeping biscuits on hand for whenever you need them. Place cooled biscuits in a freezer bag or airtight container and freeze for up to three months. Reheat them straight from the freezer in a 350 degree oven for about ten minutes. They thaw and warm at the same time, coming out tasting just like they did fresh from the oven.
Never throw away day old biscuits because they’re perfect for so many other applications. Split them and make breakfast sandwiches with eggs and cheese. Turn them into savory bread pudding. Slice them and toast them in butter to make homemade croutons. The possibilities are endless.
8) Try these Breakfast Ideas next!

9) Beer And Food Biscuits Recipe

Beer And Food Drop Biscuits with Buttery Crust
Ingredients
- 2 cups Bisquick mix
- 1/2 cup sour cream
- 1/2 cup beer (any variety works)
- 4 tablespoons real butter
Instructions
- Heat your oven to 450 degrees. Trust me on the hot oven—it makes all the difference.
- Pour the Bisquick into a bowl and cut in the sour cream with a spatula until it looks crumbly and rough.
- Pour in that half cup of beer and stir it together. Don’t worry if it looks sticky—that’s exactly what you want.
- Melt 3 tablespoons of butter in a 9-inch round or square cake pan in the oven, about 2 minutes.
- Generously dust your countertop with Bisquick (this dough is stickier than you’d think) and pat out your dough.
- Use a biscuit cutter or even a knife to cut out 7 to 9 biscuits.
- Drop them into that melted butter, then melt your remaining tablespoon of butter and drizzle it over the tops.
- Bake for 12 to 15 minutes until they’re golden brown and the edges are slightly darker.
10) Nutrition
Serving Size: 1 biscuit | Calories: 213 | Sugar: 4g | Sodium: 433mg | Fat: 13g | Saturated Fat: 6g | Carbohydrates: 20g | Fiber: 1g | Protein: 3g | Cholesterol: 24mg


Leave a Comment