
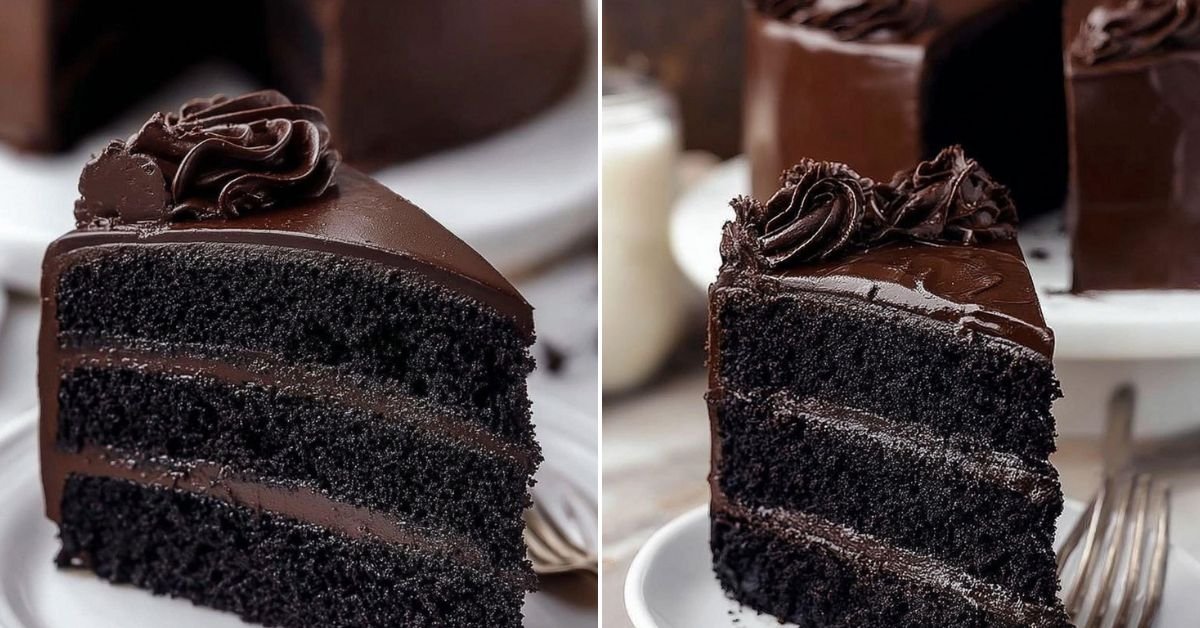
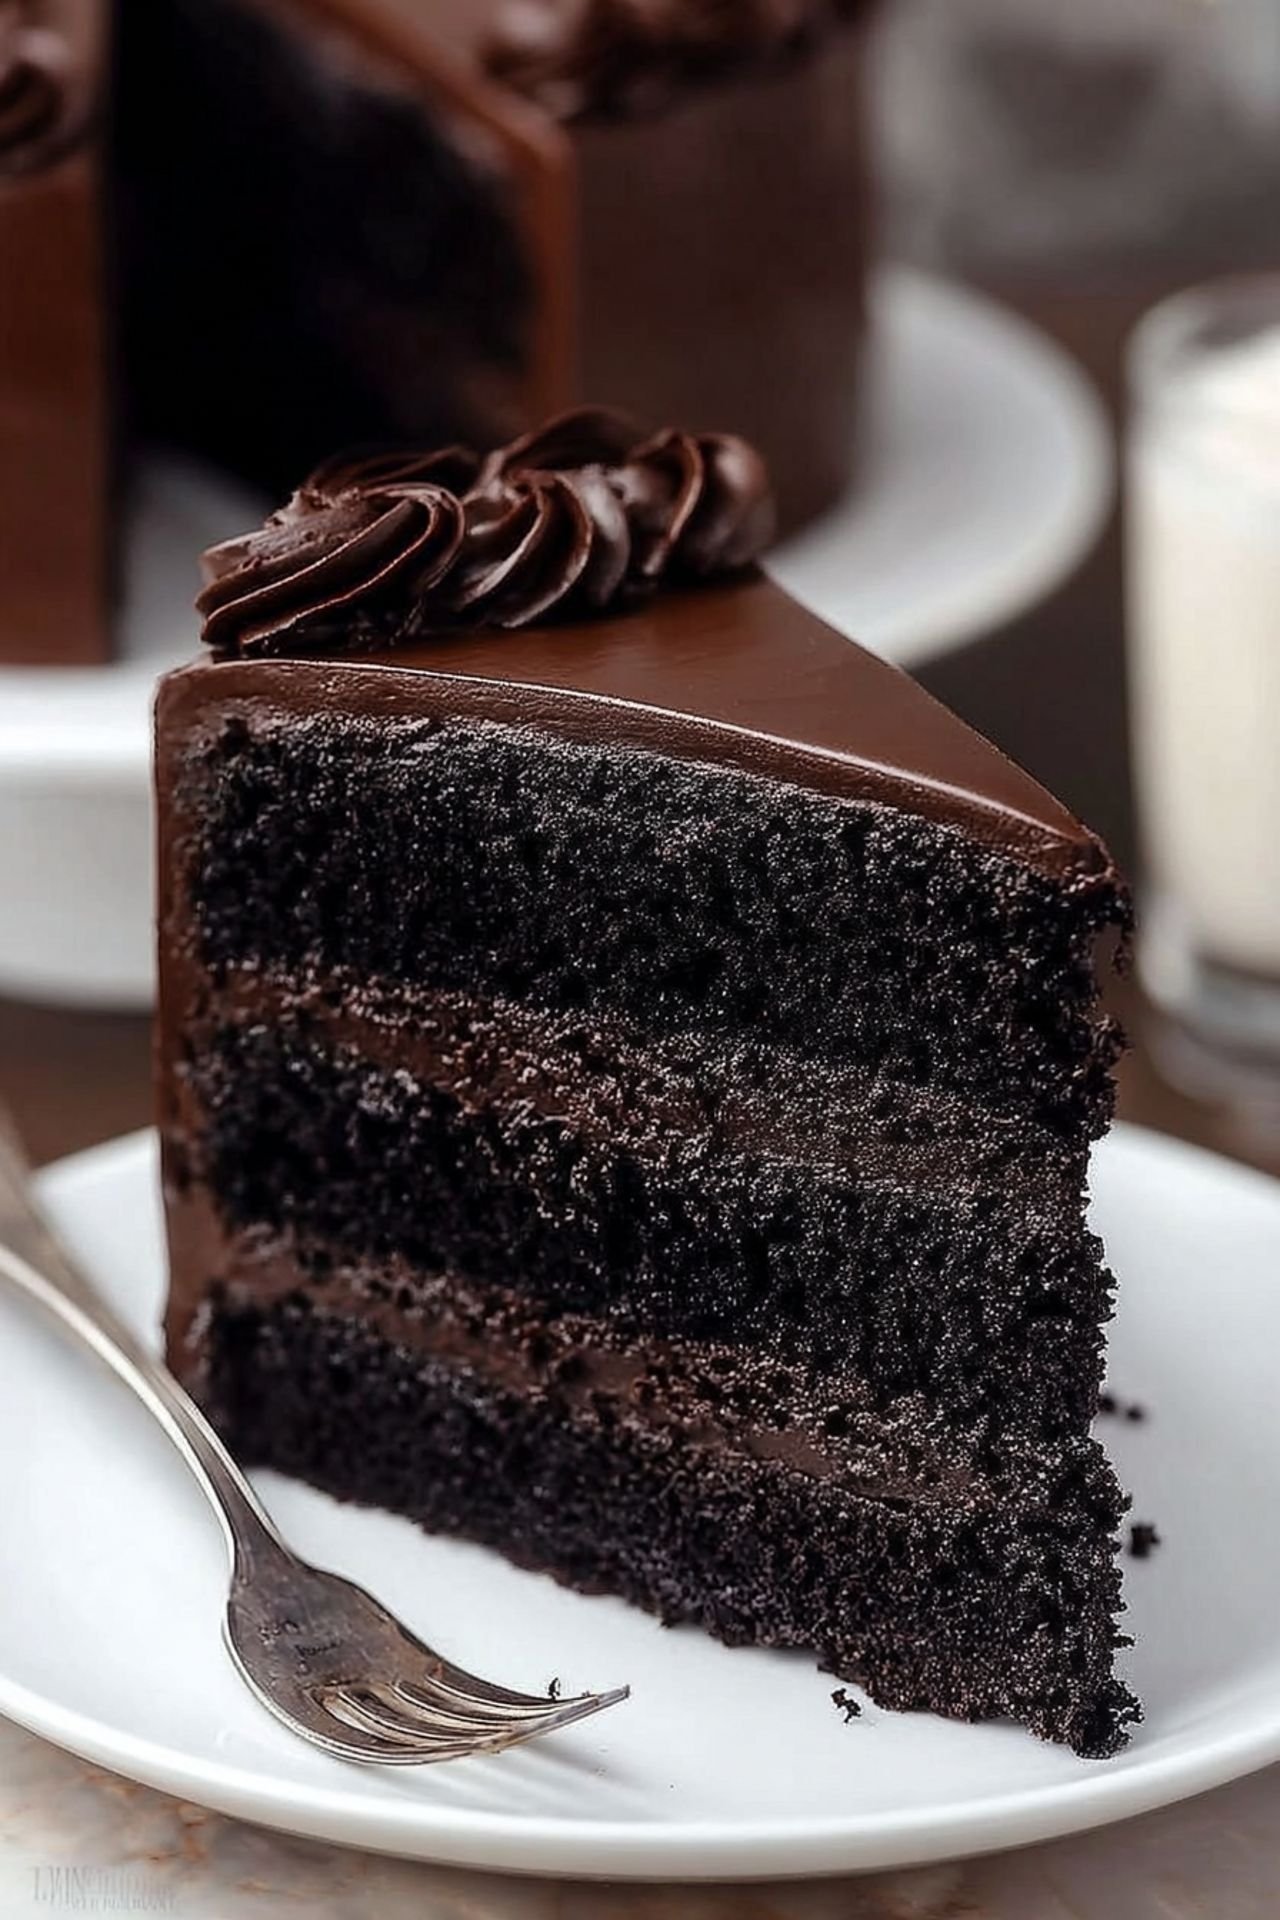
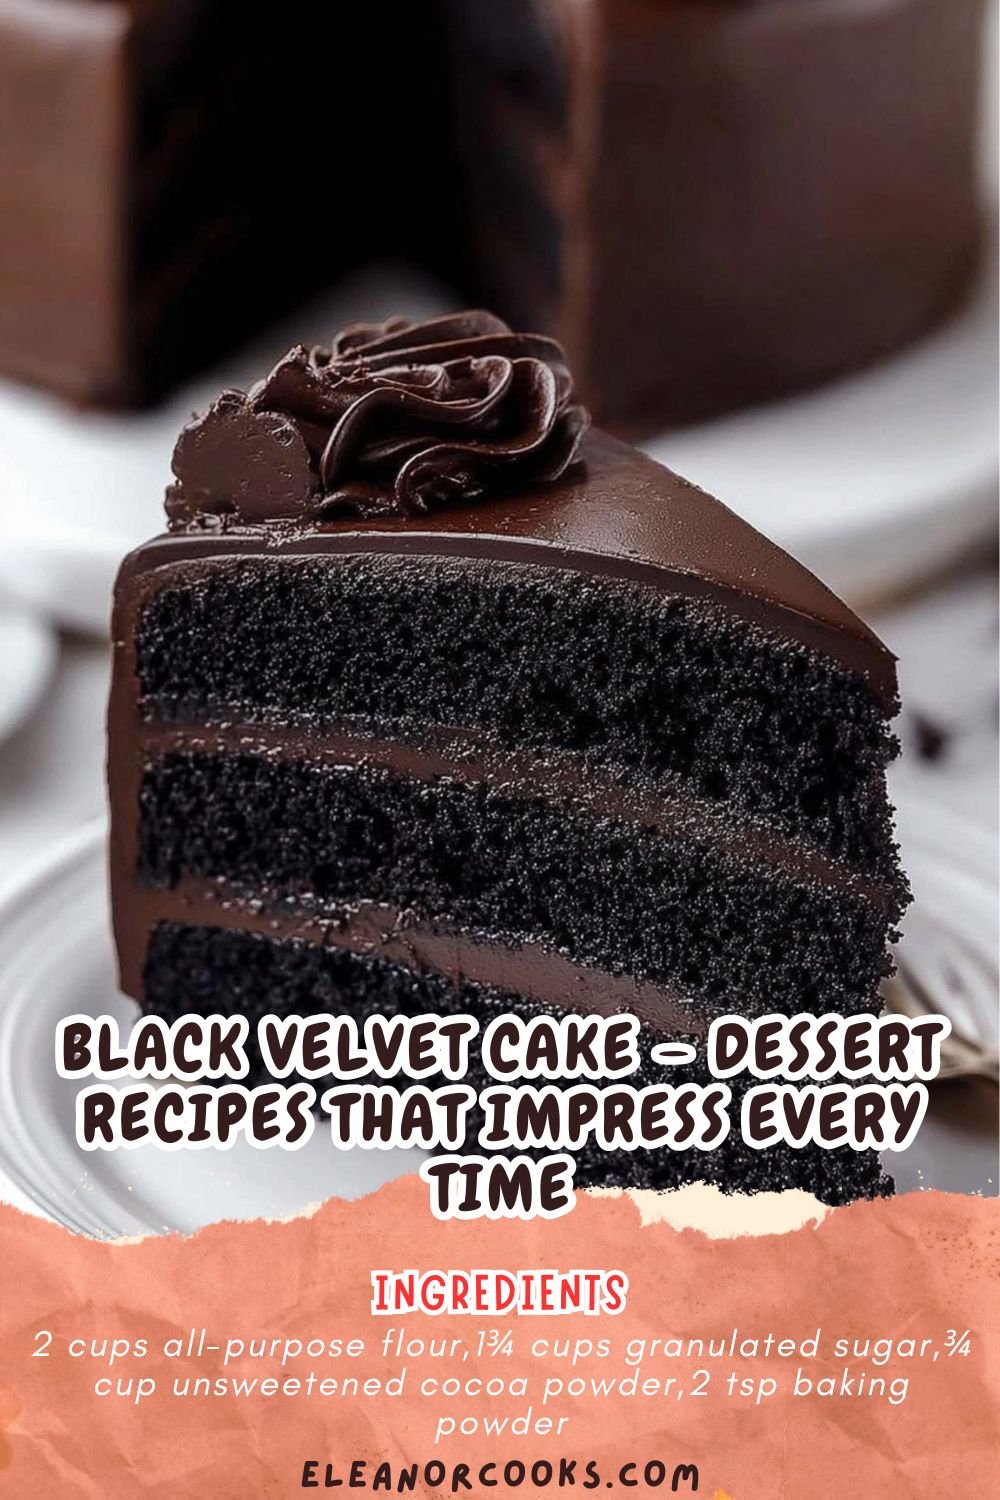
This Black Velvet Cake is the kind of dessert you keep in your back pocket for those moments when a chocolate craving hits and you want something with a little mystery. It’s like red velvet’s edgier cousin—deep, dark, and impossible to ignore. The cake is soft but holds its shape, the cocoa sings without being too loud, and that buttermilk keeps everything moist without being dense. I first made this for a friend’s birthday who said, ‘Just surprise me.’ No pressure, right? I brought this out and it didn’t last five minutes. The black hue gets people talking. The taste keeps them eating. If you love dessert recipes that balance flavor and drama, this one does both. From Taste Of Home Recipes to Skinny taste recipes and even meal ideas black people love passing down at gatherings, this hits every nostalgic note with a modern twist. It’s got soul. It’s great for Sunday dinners, Rice Cake Dessert Ideas lists, or even that 4th of July dessert table where everything needs a wow factor.
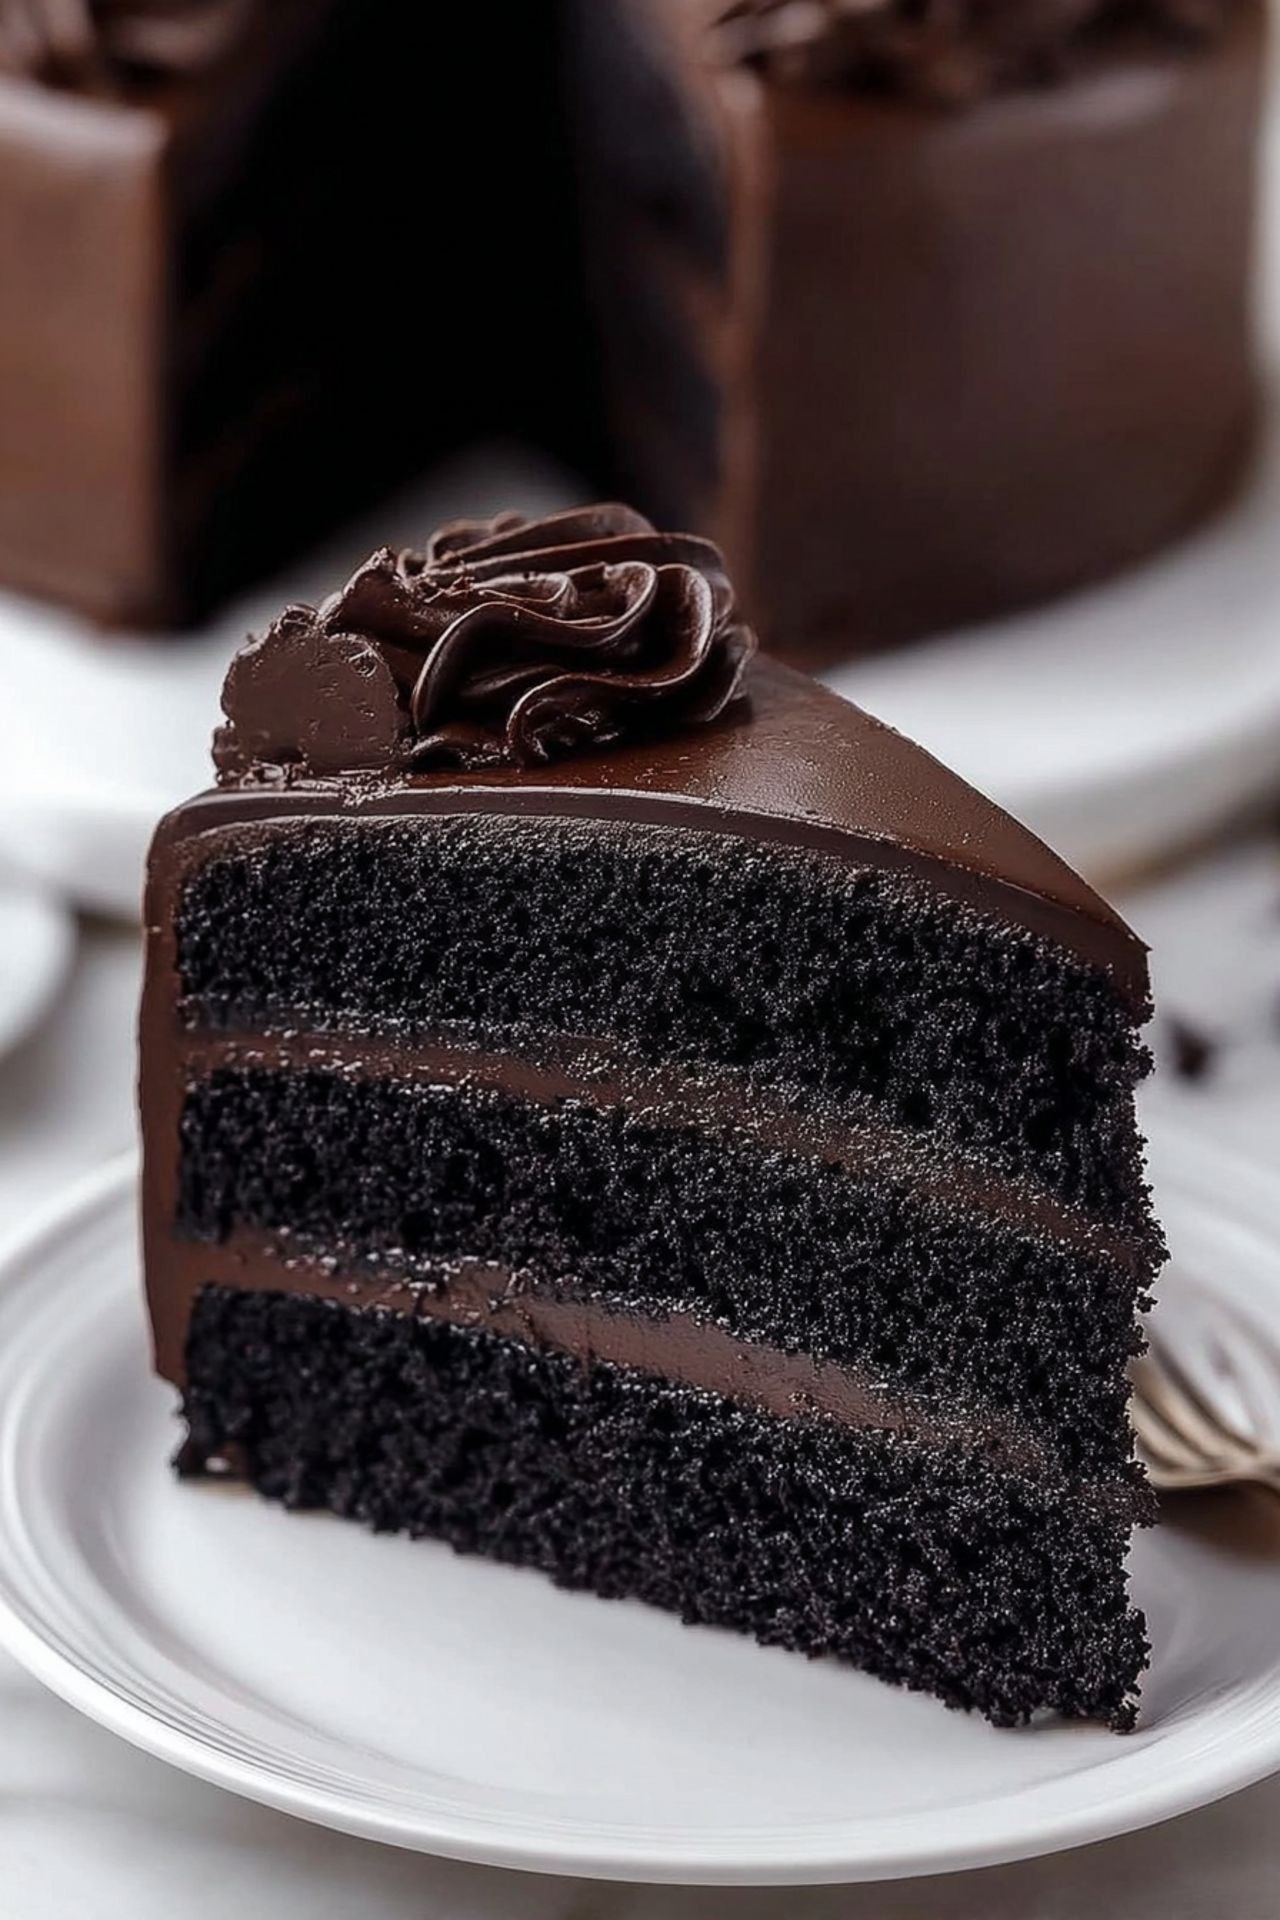
Table of Contents
- 1) Key Takeaways
- 2) Easy Black Velvet Cake Recipe
- 3) Ingredients for Black Velvet Cake
- 4) How to Make Black Velvet Cake
- 5) Tips for Making Black Velvet Cake
- 6) Making Black Velvet Cake Ahead of Time
- 7) Storing Leftover Black Velvet Cake
- 8) Try these Dessert Recipes next!
- 9) Black Velvet Cake
- 10) Nutrition
1) Key Takeaways
- This cake is perfect for holidays, birthdays, or when you just want to bake something that makes people pause and ask, “Wait, what is that?”
- It uses pantry staples and gets its deep color from food gel, not food drama.
- Pairs well with a creamy frosting, especially one that lets the chocolate flavor shine.
- Easy to customize and simple to store.
2) Easy Black Velvet Cake Recipe
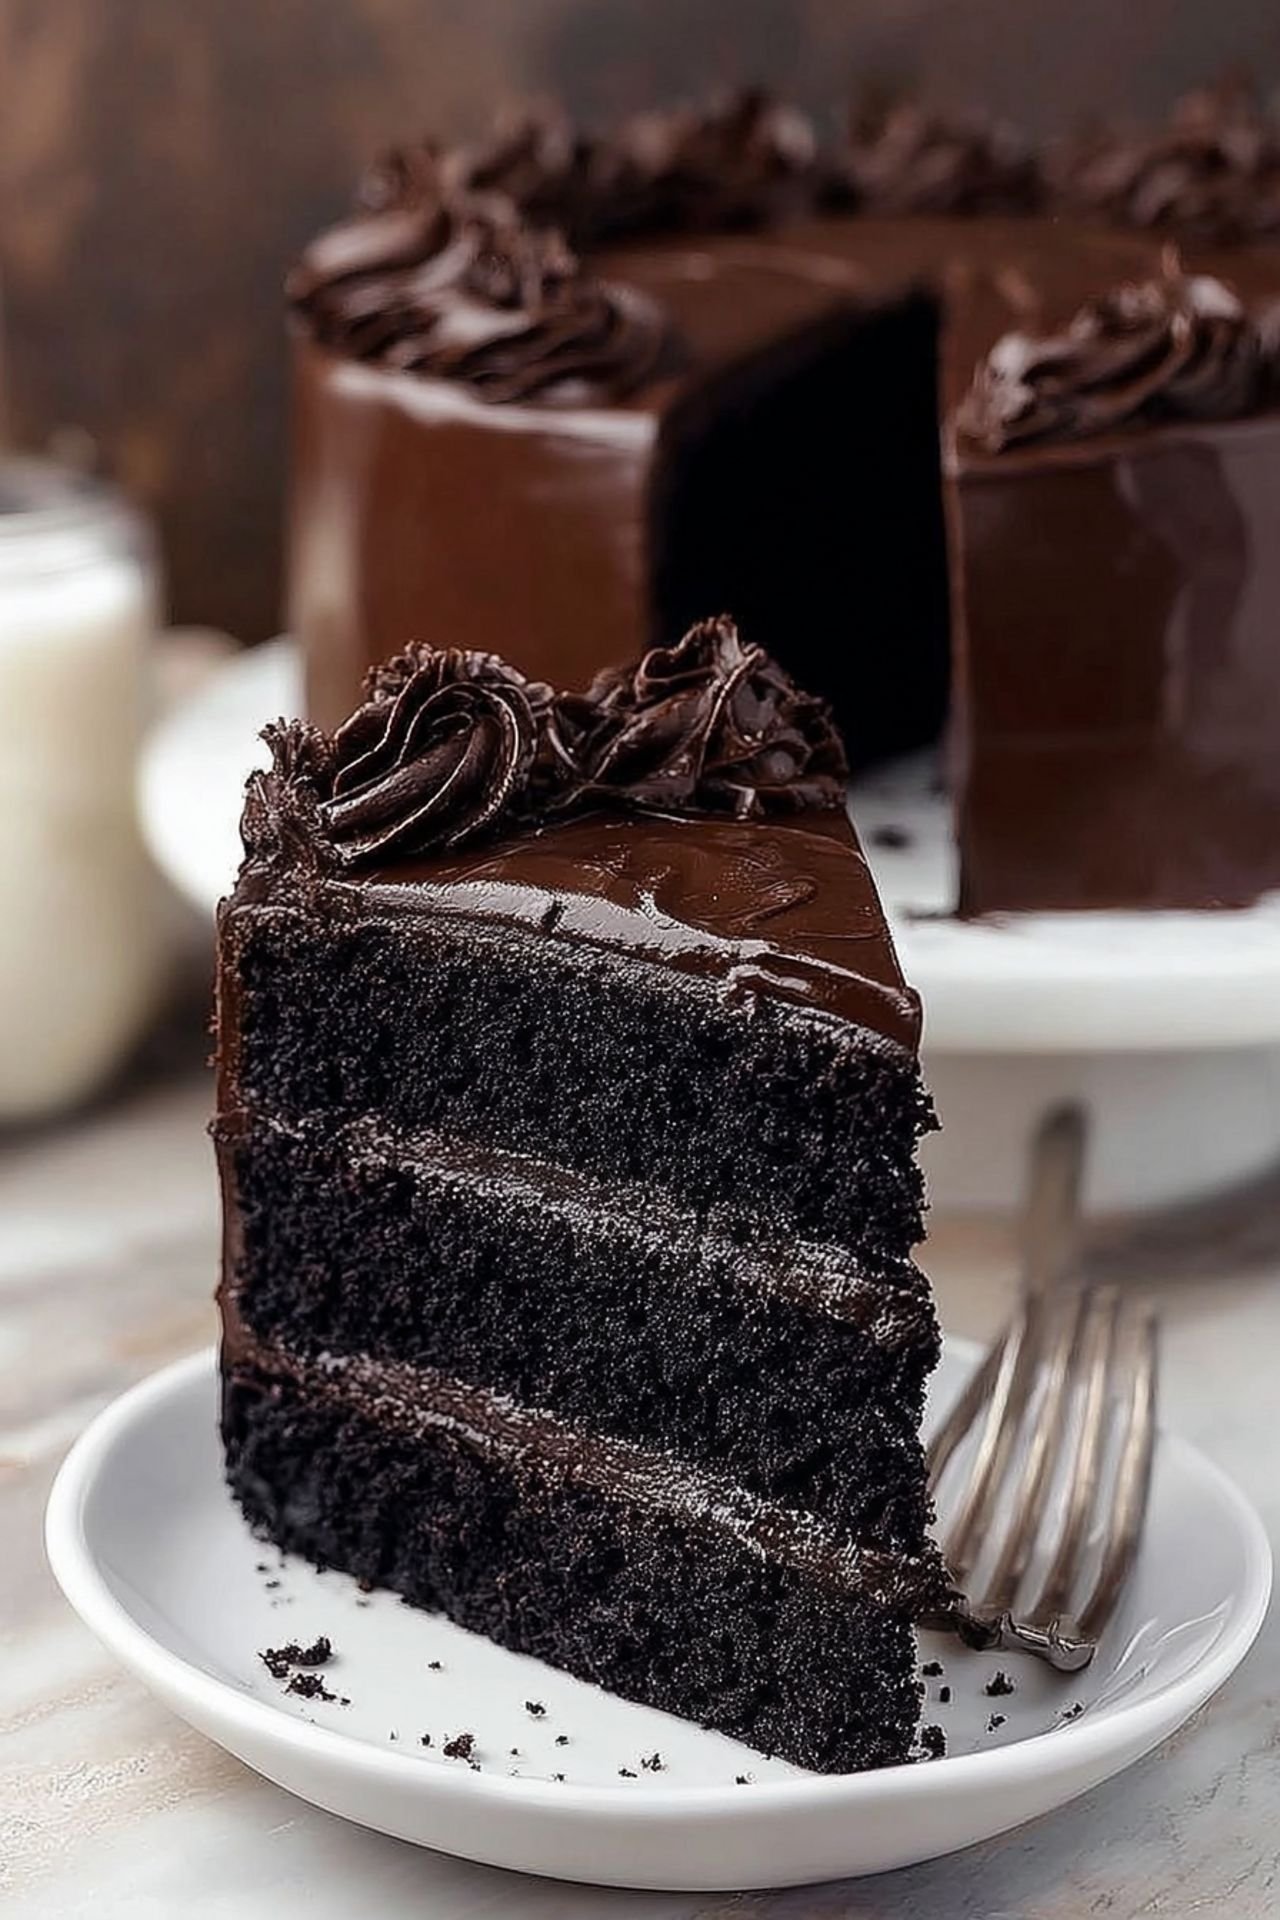
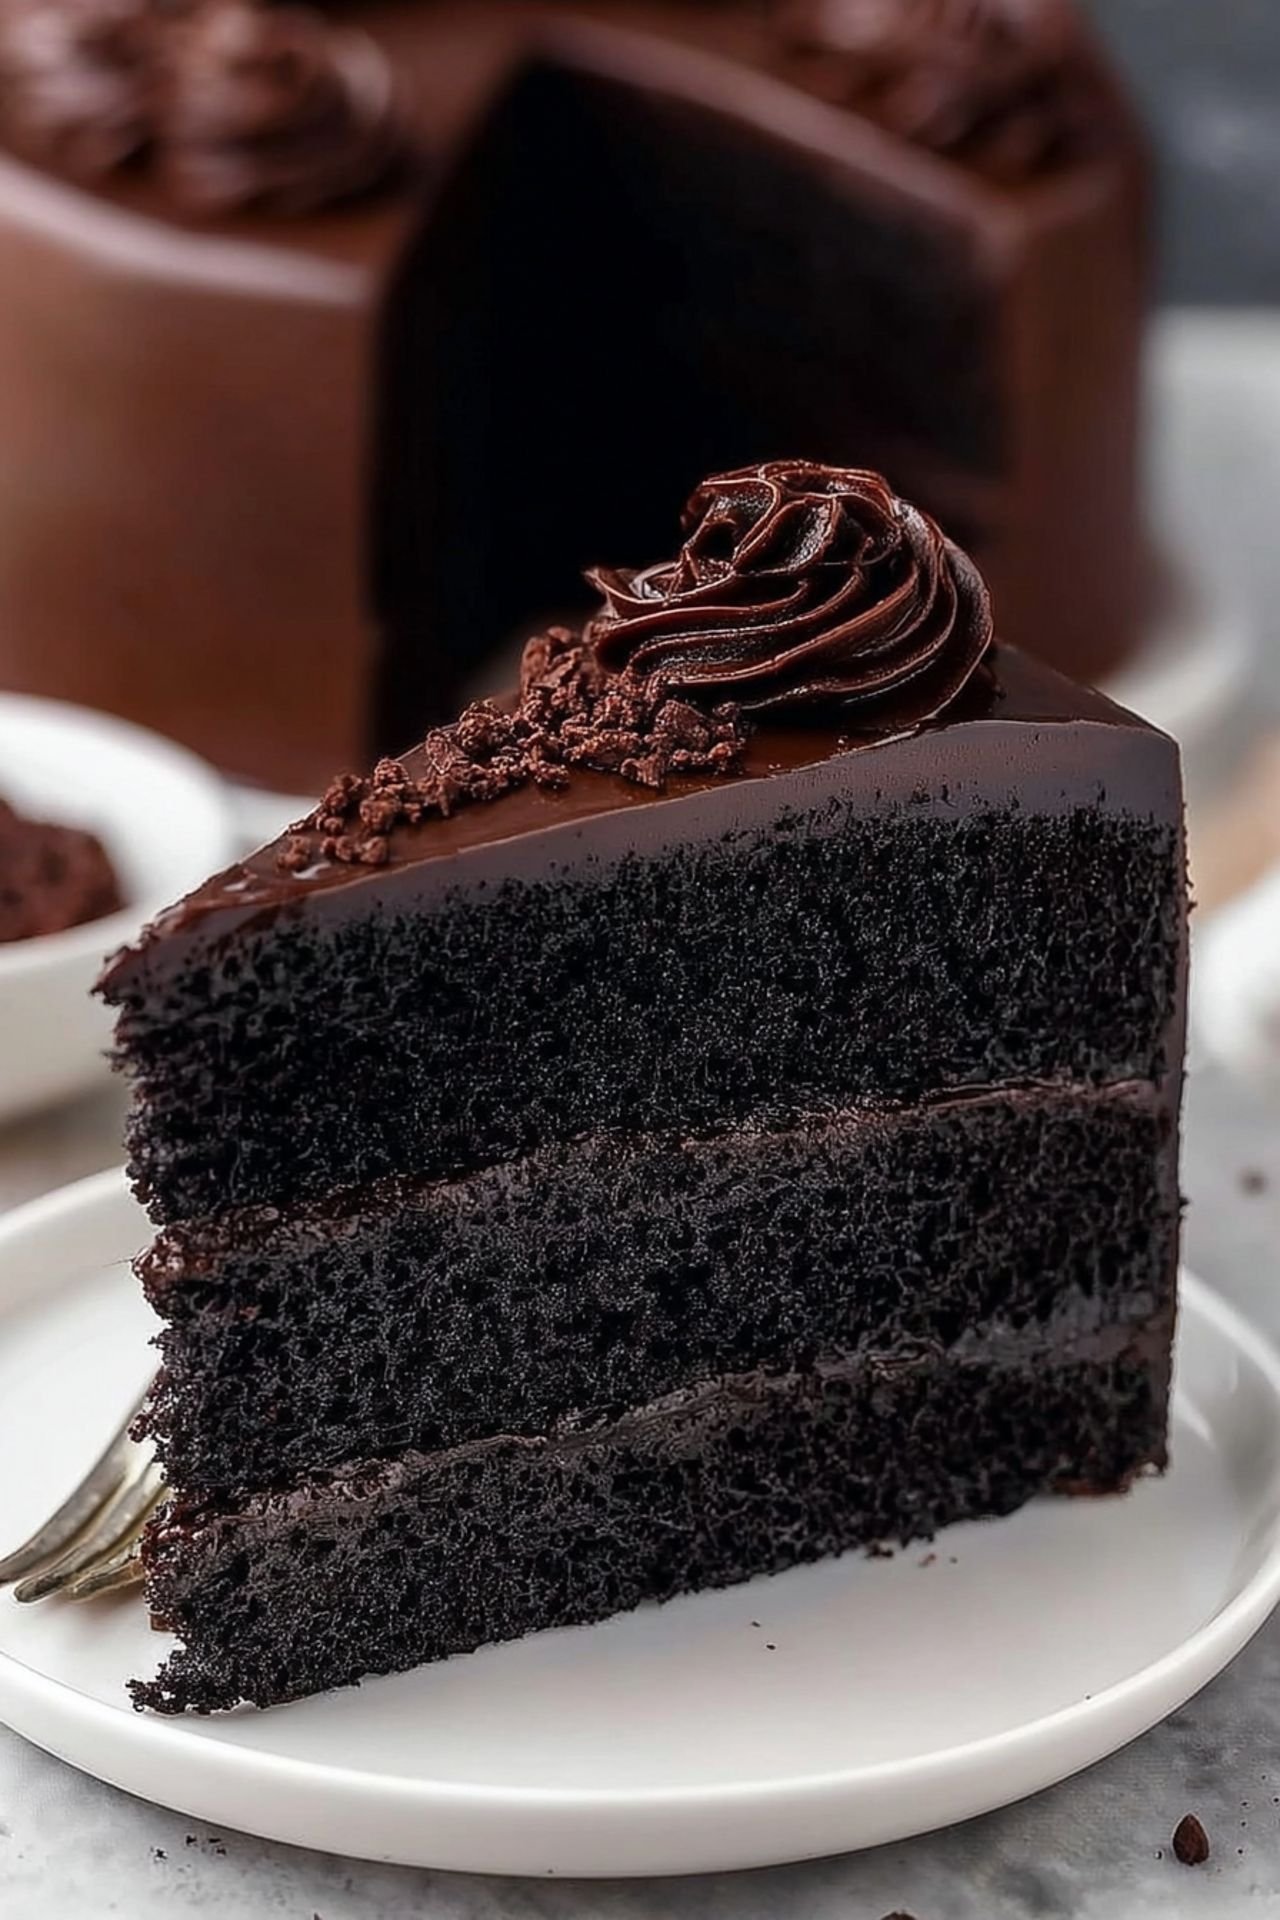
If you’ve never made a Black Velvet Cake before, now’s the time. Think red velvet but swap out the bright color for something with mystery. This cake tastes like chocolate and vanilla had a secret meeting and invited buttermilk as the wild card.
We make a lot of dessert recipes at Eleanor Cooks, but this one always leaves an impression. The texture stays soft but not too crumbly, and it holds together like a cake should. That black color isn’t just for looks either. It gives the cocoa a rich depth that feels bold but smooth.
I love bringing this one to family get-togethers or community potlucks. People don’t expect it, and that’s what makes it perfect. From Taste Of Home Recipes to the kind of meal ideas black people have passed down with pride, this one earns its spot on the table. And yes, it’s just as good as any 4th of July dessert you’ve ever had.
3) Ingredients for Black Velvet Cake
All-purpose flour gives the cake structure and keeps the crumb tender. It’s the backbone of any good cake recipe.
Granulated sugar sweetens the cake without making it too dense. It balances the cocoa perfectly.
Unsweetened cocoa powder adds a chocolate flavor that’s rich but not overpowering. Dutch-processed gives a deeper color, but natural works, too.
Baking powder and baking soda help the cake rise and stay fluffy. You need both for proper lift and texture.
Salt might seem small, but it sharpens all the other flavors. Don’t skip it.
Buttermilk keeps the cake moist and gives it a slight tang. If you don’t have it, milk with lemon juice can step in.
Vegetable oil adds richness and keeps the cake from drying out. It works better than butter in this case.
Eggs bring everything together. They add structure and a bit of bounce.
Vanilla extract rounds out the cocoa flavor and adds warmth. Use the real stuff if you can.
Hot water blooms the cocoa powder, making the flavor stronger and smoother in the final cake.
Black food coloring gel brings that striking color. Start small and add more until it looks just right.
4) How to Make Black Velvet Cake
Step 1. Preheat your oven to 350°F. Grab two 9-inch pans, grease them well, and line the bottoms with parchment.
Step 2. In a big mixing bowl, whisk together your flour, sugar, cocoa, baking powder, baking soda, and salt. Dry ingredients first always make for a smoother mix later.
Step 3. Add your buttermilk, oil, eggs, and vanilla to the dry mix. Use a hand or stand mixer, or a whisk if you’ve got the arms for it. Mix until it’s smooth and even.
Step 4. Slowly pour in the hot water and stir until the batter loosens. It’ll look thin. That’s okay. Stir in the food coloring a little at a time until you get that bold, black finish.
Step 5. Divide the batter into your pans. Tap each one gently on the counter to knock out air bubbles.
Step 6. Bake for 30 to 35 minutes. Check with a toothpick. If it comes out clean, you’re golden.
Step 7. Let the cakes cool in their pans for 10 minutes. Then flip them out onto racks to cool all the way.
5) Tips for Making Black Velvet Cake
If you want the color deep and dark, use gel food coloring instead of liquid. It’s more concentrated and won’t throw off the texture.
Don’t overmix. Once the wet hits the dry, get it combined, but stop once it’s smooth. Overdoing it can make the cake dense or chewy.
Want to impress at a dinner party? Pair it with whipped mascarpone frosting or a cream cheese layer. The balance between tang and chocolate is amazing. It’s the kind of dessert recipes twist that wins compliments without any extra fuss.
6) Making Black Velvet Cake Ahead of Time
This cake holds up well if you bake it the night before. Wrap the layers tightly in plastic once they cool, and store them at room temperature if frosting the next day.
If you’re going all-in with frosting, refrigerate the finished cake and pull it out about 20 minutes before serving. Letting it come to room temp makes the flavor pop more.
Busy weekend? Bake the layers on Friday, freeze them, and frost them Sunday morning. They’ll still taste like you just pulled them from the oven. Dessert recipes like this one keep their soul even after a few days.
7) Storing Leftover Black Velvet Cake
Once sliced, keep your cake covered or stored in a sealed container. It’ll last up to five days in the fridge, and the flavor holds steady.
I like wrapping individual slices in wax paper, then storing them in a container. Makes grabbing a piece after dinner way too easy.
If you’re freezing it, wrap the cake in foil and then in a freezer bag. It keeps well for two months. Thaw it in the fridge overnight and let it breathe before eating. These are the little joys of dessert recipes that age well.
8) Try these Dessert Recipes next!
9) Black Velvet Cake

Black Velvet Cake – Dessert Recipes That Impress Every Time
Ingredients
- 2 cups all-purpose flour
- 1¾ cups granulated sugar
- ¾ cup unsweetened cocoa powder
- 2 tsp baking powder
- 1 tsp baking soda
- ½ tsp salt
- 1 cup buttermilk
- ½ cup vegetable oil
- 2 large eggs
- 1 tsp vanilla extract
- 1 cup hot water
- Black food coloring gel (as needed)
Instructions
- Preheat the oven to 350°F (175°C). Grease and line two 9-inch round cake pans.
- In a large mixing bowl, whisk together flour, sugar, cocoa powder, baking powder, baking soda, and salt.
- Add buttermilk, oil, eggs, and vanilla. Beat until well combined.
- Carefully stir in the hot water until the batter is smooth. Add black food coloring to deepen the color.
- Divide the batter evenly between the pans.
- Bake for 30 to 35 minutes, or until a toothpick inserted in the center comes out clean.
- Let the cakes cool in the pans for 10 minutes before transferring to a wire rack to cool completely.
- Frost with your favorite cream cheese or buttercream frosting and serve.
10) Nutrition
Serving Size: 1 slice | Calories: 430 | Sugar: 38 g | Sodium: 260 mg | Fat: 19 g | Saturated Fat: 5 g | Carbohydrates: 60 g | Fiber: 3 g | Protein: 5 g | Cholesterol: 45 mg


Leave a Comment