

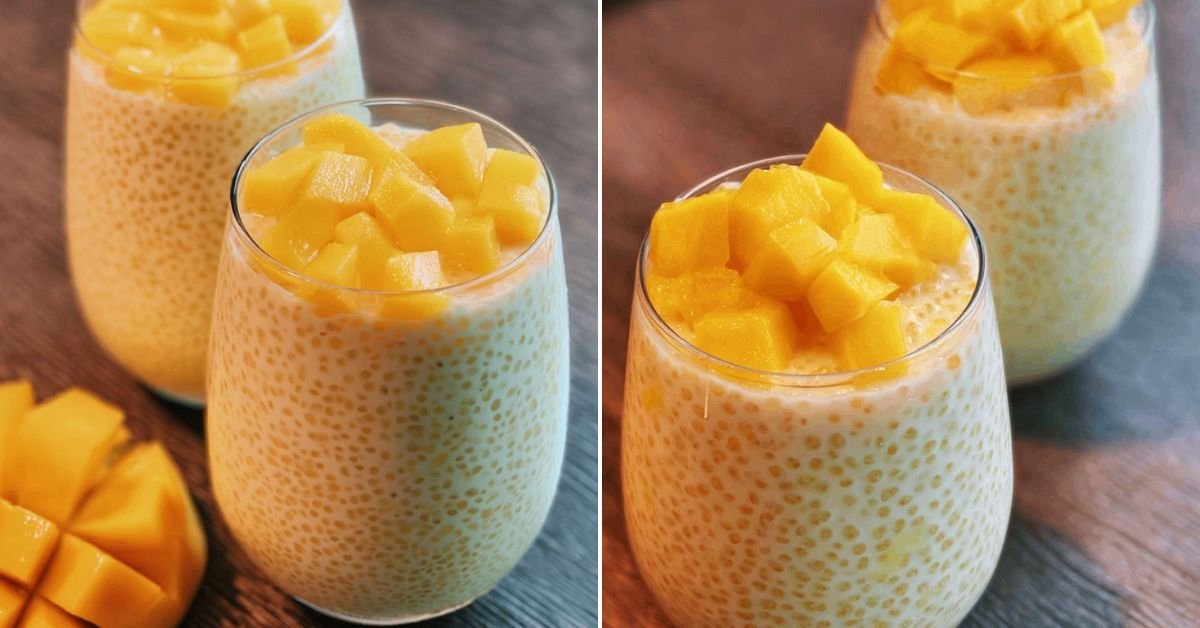
There’s something magical about pulling a golden-crusted tart from the fridge. The mango filling glows like liquid sunshine, creamy and tart at the same time, with that buttery crust holding everything together in the most satisfying way. I started making this tart on lazy afternoons when I wanted something that looked impressive but didn’t demand much from me. The process moves at its own gentle pace. You blend the mango until smooth, whisk the curd over low heat, watch it turn glossy and thick, then let time do the real work while it chills. There’s a rhythm to it that feels almost meditative. What I love most is how this dessert walks the line between light and indulgent. It’s not overly sweet or too heavy. Each slice tastes bright and refreshing, and people always ask for the recipe when they taste it. I make it for summer dinners, weekend gatherings, and those quiet moments when I need a little something that feels special without being complicated.

Table of Contents
- 1) Key Takeaways
- 2) Easy Mango Curd Tart Recipe
- 3) Ingredients for Mango Curd Tart
- 4) How to Make Mango Curd Tart
- 5) Tips for Making Mango Curd Tart
- 6) Making Mango Curd Tart Ahead of Time
- 7) Storing Leftover Mango Curd Tart
- 8) Try these Dessert Recipes next!
- 9) Mango Curd Tart Recipe
- 10) Nutrition
1) Key Takeaways
- What makes a perfect Mango Curd Tart?
- Can you make Mango Curd Tart ahead of time?
- What are the common mistakes when making curd fillings?
- How long does Mango Curd Tart stay fresh?
- What’s the difference between making Easy Dessert Recipes at home versus store-bought?
- How do you get that glossy curd texture?
2) Easy Mango Curd Tart Recipe
I started making this Mango Curd Tart when I realized that easy dessert recipes don’t have to mean boring or complicated. This recipe proves that you can create something that looks like it came from a fancy bakery while barely lifting a finger in the kitchen. The magic happens in the timing and temperature control, not in difficult techniques or hard-to-find ingredients. Most of the actual work takes about thirty minutes, which means you can have a show-stopping tart ready to chill while you go about your day.
What I love most about this recipe is that it’s forgiving once you understand the basics. The crust comes together in minutes if you have a food processor or even just a bowl and your hands. The mango curd requires patience and attention but rewards you with that gorgeous golden color and silky texture that people actually gasp at when they take a bite. I’ve made this tart countless times now, and it never fails to impress whether I’m serving it at a dinner party or just enjoying a quiet slice on a summer afternoon.
The beauty of a mango curd tart is that it sits somewhere perfect between light and indulgent. You get that buttery crust that holds everything together, creamy filling that tastes bright and tropical, and the satisfaction of knowing you made it yourself. This falls into the category of dessert recipes that make you feel accomplished without requiring culinary school. The recipe works every single time if you follow the steps and pay attention to your heat.

3) Ingredients for Mango Curd Tart
Crushed Biscuits or Graham Crackers form the foundation of your tart shell. I use about a cup and a half of crushed biscuits, which gives you plenty of material to press into the pan and create that golden, crispy base. You can use regular digestive biscuits, vanilla wafers, or graham crackers depending on what you have on hand and what flavor profile you’re going for. The biscuits add structure and won’t crumble apart when you slice the tart, which matters more than you’d think. Toast them slightly before crushing if you want extra depth of flavor.
Melted Butter works as the binder that holds your crust together. You’ll need six tablespoons mixed into your biscuit crumbs, which creates that perfect consistency where everything sticks together without being wet or falling apart. The butter also contributes that rich, toasted flavor that makes the crust taste homemade and special. Don’t use cold butter here since you need everything to combine evenly and quickly.
Sugar sweetens the crust slightly, just two tablespoons mixed in. This small amount keeps the crust from tasting too savory while letting the mango filling be the star of the show. You can adjust this up or down based on how sweet you like your dessert recipes overall.
Fresh Mango Purée is the heart of this tart, and using quality mango makes all the difference. You’ll need about a quarter cup plus an additional cup of mango for this recipe for dessert. If you can find ripe mangoes at the farmers market or grocery store, blend them fresh. Frozen mango works beautifully too, just thaw it first and drain any excess liquid. The purée needs to be completely smooth, no chunks or fibers, so don’t skip the blending step.
Lemon Juice and Zest brighten the mango flavor and add complexity to the filling. The juice prevents the curd from tasting one-dimensional, while the zest adds little bursts of citrus oil. Fresh lemon is essential here since bottled lemon juice tastes flat by comparison. Zest your lemon before juicing it for the smoothest operation.
Eggs and Egg Yolks create the custard structure that transforms your mango mixture into that smooth, spreadable curd. You need four egg yolks and two whole eggs total. The egg yolks contribute richness while the whole eggs help set the mixture. Make sure your eggs are at room temperature so they incorporate smoothly and cook evenly over gentle heat.
Butter for the Curd gets whisked in after cooking and adds silkiness and richness to your finished filling. Four tablespoons get stirred in off the heat, melting beautifully into the warm curd and creating that glossy appearance that makes people fall in love with recipes for dessert at first sight.
Salt acts as a flavor amplifier. Just a small pinch brings all the other flavors forward and prevents the tart from tasting sweet or one-note. This tiny amount makes a bigger difference than you’d expect.

4) How to Make Mango Curd Tart
Step One: Prepare Your Crust. In a mixing bowl, combine your crushed biscuits, melted butter, and sugar. Stir everything together until it looks like wet sand, with no dry patches of biscuit remaining. The mixture should hold together when you squeeze it in your fist but still feel crumbly. Transfer this into your tart pan and press it firmly along the bottom and sides, making an even layer. You want good coverage everywhere so your filling doesn’t seep through. Bake this at three hundred fifty degrees for about eight minutes until it turns light golden. Watch carefully since ovens vary and you don’t want dark brown edges.
Step Two: Blend Your Mango. While your crust cools, prepare your mango purée by blending fresh mango until it’s completely smooth. This step matters more than you’d think because any lumps or fibers will show up in your finished curd and ruin the silky texture. If using frozen mango, thaw it first and drain any excess liquid since that water will thin your curd.
Step Three: Start the Curd. In a saucepan, whisk together your mango purée, sugar, egg yolks, whole eggs, lemon juice, and a pinch of salt. Get everything combined smoothly before applying heat. Set your pan over low heat and whisk constantly. This is the moment where you can’t walk away or get distracted. The mixture will gradually transform from thin liquid into something thick and glossy, taking about eight to ten minutes. You’re looking for it to coat the back of a spoon and leave a trail when you run your finger across.
Step Four: Add Butter and Strain. Once your curd reaches the right thickness, remove it from heat immediately. Stir in your four tablespoons of butter until completely melted and blended. For the silkiest possible texture, pour the curd through a fine strainer to remove any bits of cooked egg white. This step isn’t mandatory but makes a noticeable difference in the final result.
Step Five: Fill Your Crust. Pour your strained curd into your cooled crust and smooth the top with a spatula. Try to get an even layer so every slice has equal amounts of filling.
Step Six: Chill Until Set. Cover your tart loosely and refrigerate for at least three to four hours. The filling needs this time to set completely and become cold. You can make this the day before you plan to serve it, which makes it perfect for advance entertaining.
Step Seven: Serve and Enjoy. When ready to serve, run a warm knife around the edges to help it release from the pan. Slice with the same warm knife between cuts for the cleanest pieces. Top with fresh mango slices, mint leaves, or toasted coconut if you’d like. Serve cold straight from the fridge.

5) Tips for Making Mango Curd Tart
Temperature control separates success from scrambled eggs in your curd. Keep your heat on low the entire time you’re cooking the filling. Your goal is gentle cooking that gradually thickens the eggs rather than quick cooking that creates bits of cooked egg white. If your curd starts looking grainy or textured, you’ve gone too hot and fast. Remove it from heat immediately and pour it through a strainer to salvage it.
Use fresh mango whenever possible since frozen mango often has more moisture. Fresh mangoes give you better control over the final texture and flavor. You can tell a mango is ripe when it yields slightly to pressure and smells sweet near the stem. If you only have access to frozen, thaw it completely and drain very well before blending.
Don’t skip the straining step if you want that bakery-quality silky texture. This removes any little bits of cooked egg white that might have formed despite your best efforts. A fine mesh strainer works perfectly, and it takes just a minute to push the curd through.
Room temperature eggs mix in more smoothly than cold eggs. Take them out of the fridge about thirty minutes before you start cooking. They’ll incorporate into the mango mixture more evenly and cook more gently over the heat.
Make sure your eggs are fresh when making curd recipes. Old eggs can be temperamental about cooking and might not set properly. Check the date on the carton and use the freshest eggs you can find.
Lemon juice is not optional in this recipe. It prevents the curd from tasting flat and one-dimensional while adding brightness that makes the mango flavor pop. Fresh lemon is vastly superior to bottled juice for this purpose.
6) Making Mango Curd Tart Ahead of Time
This mango curd tart is one of my favorite make-ahead dessert recipes because it actually improves when you make it the day before. The crust stays crispy, the filling sets perfectly, and the flavors meld together beautifully overnight. If you’re planning an event or just want something ready to go, this tart handles advance preparation like a dream.
You can prepare the crust up to two days ahead and store it at room temperature in an airtight container. It won’t stay perfectly crispy after that, but it’ll still taste good for the first day or so. Many people make the crust the night before and fill it the next morning, which spreads out the work and means you’re not doing everything at once.
The mango curd itself keeps beautifully in the fridge for up to five days before assembling the tart. You could make your curd one day, store it in an airtight container, and fill your crust the day you plan to serve it. This modular approach means you can break the recipe into manageable chunks if you’re busy.
When you’re ready to assemble everything, make sure both the crust and curd are at room temperature or the curd won’t spread smoothly into the pan. Take the curd out of the fridge about thirty minutes before assembly. Pour it into your crust and smooth it level, then refrigerate the finished tart for at least two hours before serving.
You can freeze a completely assembled and set mango curd tart for up to one month. Thaw it in the refrigerator overnight before serving. The texture stays nice and the flavor remains true. This makes it perfect for making when you have time and serving weeks later when you don’t.
7) Storing Leftover Mango Curd Tart
Store your leftover mango curd tart in an airtight container in the refrigerator for up to five days. The crust will soften slightly as it sits, which some people prefer anyway. The filling stays smooth and delicious the entire time, and the lemon juice keeps the mango flavor bright and fresh.
If you want to store individual slices, wrap each one tightly in plastic wrap and place them in an airtight container. This prevents the crust from absorbing odors from your fridge and keeps everything fresh. You can grab a slice whenever you want a dessert that tastes homemade and special.
Don’t store this tart at room temperature for more than a couple of hours since the eggs in the curd need to stay cold. If you’re bringing it to a potluck or event, keep it in a cooler with ice packs until you’re ready to serve, then transfer it to the host’s fridge immediately.
Frozen leftover tart thaws beautifully when stored properly. Layer parchment paper between slices if you’re freezing multiple pieces, so they don’t stick together. You can also freeze the whole assembled tart. Thaw in the refrigerator overnight and it’ll taste just as good as the day you made it.
If you notice any liquid pooling on top of the filling, your fridge is probably too cold and the curd is sweating slightly. This is normal and doesn’t affect the taste. Just blot it away with a paper towel before serving.
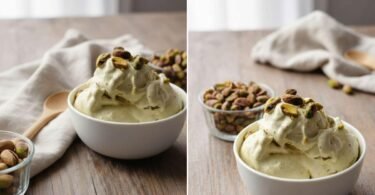
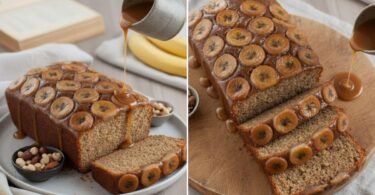
8) Try these Dessert Recipes next!

9) Mango Curd Tart Recipe

Mango Curd Tart: Easy Dessert Recipes for Summer
Ingredients
For the Crust
- 1½ cups crushed biscuits or graham crackers
- 2 tbsp sugar
- 6 tbsp melted butter
For the Mango Curd
- 1¼ cups mango purée (fresh or frozen)
- ¼ cup sugar
- 4 tbsp butter
- 3 tbsp lemon juice
- 4 egg yolks
- 2 whole eggs
- Pinch of salt
Optional Toppings
- Fresh mango slices
- Mint leaves
- Toasted coconut
- Fresh berries
Instructions
For the Crust
- In a mixing bowl, combine the crushed biscuits, melted butter, and sugar. Stir until it feels like wet sand.
- Press this mixture firmly into a tart pan, making sure to pack it along the bottom and sides evenly.
- Bake at 350°F for about 8 minutes until it turns light golden. You’re not looking for dark brown here. Let it cool completely before moving to the next step.
For the Mango Curd
- While the crust cools, blend your mango until it’s completely smooth. This matters because lumps will show up in your finished curd.
- In a saucepan, whisk together the mango purée, sugar, egg yolks, whole eggs, and lemon juice. Add a tiny pinch of salt.
- Set the pan over low heat and whisk constantly. This is not a time to walk away. You’ll watch the mixture gradually change from thin to thick and glossy, taking about 8 to 10 minutes.
- Once it’s thick enough to coat the back of a spoon, remove it from the heat and stir in the butter until it’s completely melted and blended in.
- For an extra silky texture, strain the curd through a fine strainer. This step removes any bits of cooked egg white. Skip it if you prefer.
- Pour the curd into your cooled crust and smooth the top with a spatula.
For the Final Step
- Cover the tart loosely and refrigerate for at least 3 to 4 hours until the filling is completely set and cold.
- When you’re ready to serve, run a warm knife around the edge to help it slip out cleanly. Slice with the same warm knife for neat pieces.
- Top with fresh mango slices, mint leaves, or whatever strikes your fancy. Serve cold and enjoy.
10) Nutrition
Serving Size: 1 slice (1/10 of tart) | Calories: 270 | Sugar: 25g | Sodium: 90mg | Fat: 13g | Saturated Fat: 8g | Carbohydrates: 33g | Fiber: 1g | Protein: 4g | Cholesterol: 95mg


Leave a Comment