

Okay, can we talk about life’s little emergencies? I’m talking about the kind solved only by chocolate. And mint. Specifically, the kind where you need something stunning, creamy, and cool, but the thought of turning on the oven makes you want to lie down. That’s where these little green goddesses come in. I made these for a book club last month, and let’s just say the discussion about the protagonist’s motives lasted roughly two minutes before we all just started making happy noises at these cheesecakes instead. They’re cool, minty, chocolatey, and require zero baking—just some whipping and waiting. They’re perfect for when you want to feel fancy without the fuss. While I love a good project bake, sometimes you just need a no-fuss winner. And if you’re exploring other easy options, I have a soft spot for no bake banana recipes for breakfast, dream about a perfect no bake vegan dessert for my friend Sam, and even whip up no bake protein cookies when the 3 p.m. slump hits. But when I need a showstopper? This is it.
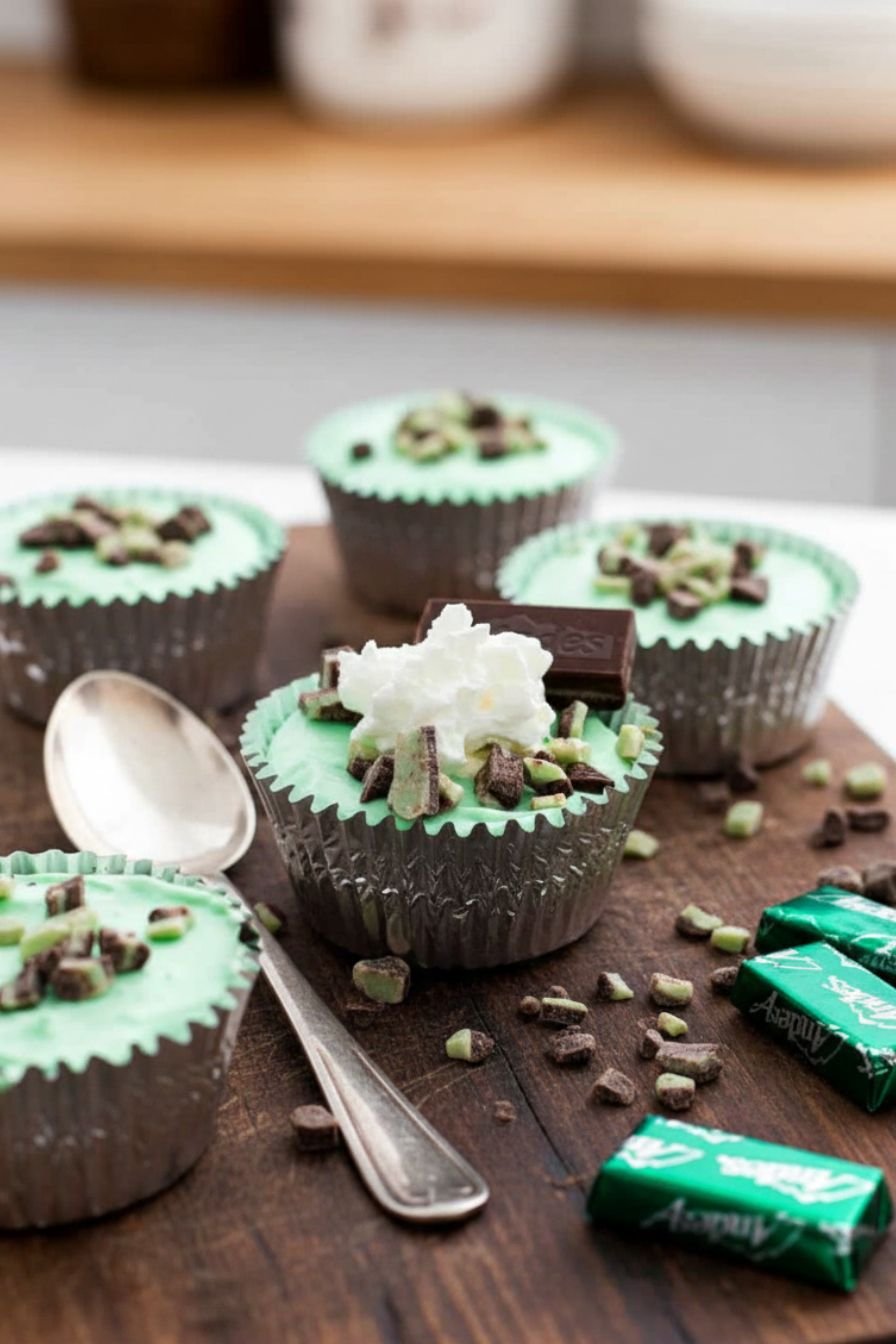
Table of Contents
- 1) Key Takeaways
- 2) Easy No-Bake Grasshopper Mini Cheesecakes Recipe
- 3) Ingredients for No-Bake Grasshopper Mini Cheesecakes
- 4) How to Make No-Bake Grasshopper Mini Cheesecakes
- 5) Tips for Making No-Bake Grasshopper Mini Cheesecakes
- 6) Making No-Bake Grasshopper Mini Cheesecakes Ahead of Time
- 7) Storing Leftover No-Bake Grasshopper Mini Cheesecakes
- 8) Try these Dessert next!
- 9) No-Bake Grasshopper Mini Cheesecakes
- 10) Nutrition
1) Key Takeaways
- What’s the best part about these cheesecakes? They’re gloriously no-bake. That means no hot oven, no water bath stress, just cool creamy perfection.
- How do I get that perfect minty flavor? Go slow with the peppermint extract. It’s potent! Start with a quarter teaspoon and taste. You can always add more.
- Do I really need to chill them that long? Yes. Trust me on the four-hour chill, or even overnight. It transforms the filling from soft to sliceably perfect.
- Can I use a different crust? Absolutely. Chocolate graham crackers work great. For a nutty twist, try swapping in some ground Oreos (cream filling and all).
2) Easy No-Bake Grasshopper Mini Cheesecakes Recipe
Let’s be real. Sometimes you want a dessert that looks like you fussed for hours but secretly took you twenty minutes of active work. That’s the magic of no-bake cheesecake recipes. These little guys are my go-to for last-minute potlucks, book club (where they famously derailed the plot discussion), or just because it’s Tuesday and you deserve something green and delightful.

What I love about this particular recipe is how forgiving it is. Over-whip the cream a little? It’ll be fine. Forget to soften the cream cheese? Give it a zap in the microwave. These are the friendly, low-stress desserts we all need more of. If you’re hunting for more easy wins, I’ve got a soft spot for no-bake banana recipes on busy mornings.

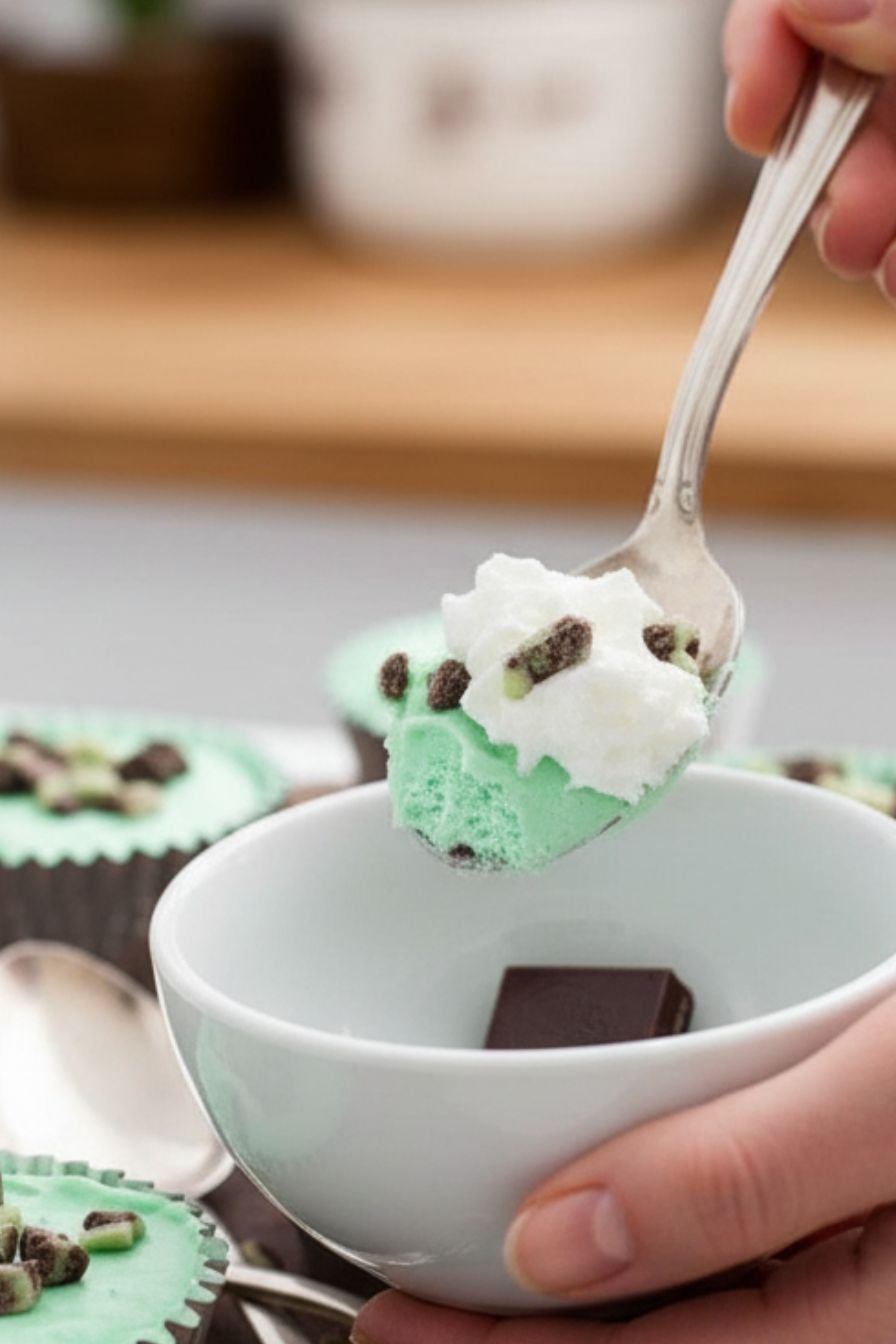
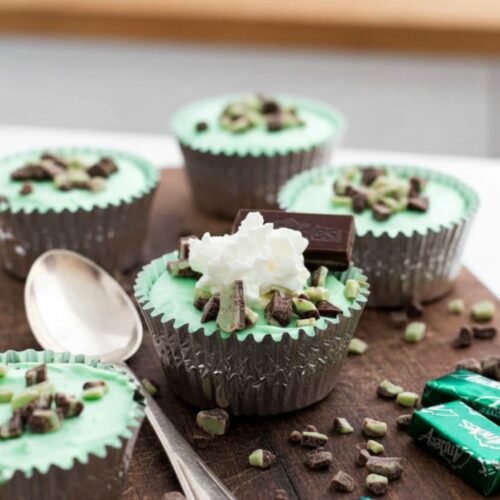
And the flavor? Imagine the best mint chocolate chip ice cream you’ve ever had, but in cheesecake form. It’s cool, creamy, and has that little crunch from the chocolate crust. It feels fancy without the fancy effort. I promise, once you see how easy these cheesecake recipes no bake can be, you’ll be hooked.
3) Ingredients for No-Bake Grasshopper Mini Cheesecakes
Chocolate Wafer Crumbs: About a cup and a half. I use the classic chocolate wafers, but if your store is out, chocolate graham crackers work beautifully. You could even blitz up some Oreos, filling included, for a richer base. This is your flavor foundation, so use something you love.
Unsalted Butter, Melted: Five tablespoons. This is the glue for your crust. Melt it and let it cool just a touch before mixing. If your crumbs seem dry after combining, don’t panic. Add another half tablespoon. The mixture should hold together when you pinch it.
Full-Fat Cream Cheese: One twelve-ounce block, softened. This is non-negotiable. Full-fat gives you that lush, stable texture. Leave it on the counter for a good hour. If you forget, you can gently soften it in the microwave at 10-second bursts. Just don’t let it get hot.
Granulated Sugar & Extracts: Half a cup of sugar, a teaspoon of vanilla, and a quarter teaspoon of peppermint extract to start. The peppermint is powerful stuff. Taste your filling before adding more. The vanilla smooths everything out. It’s the quiet hero.
Heavy Whipping Cream: You’ll need two and a half cups total, divided. We use most of it for the fluffy filling and the rest for the pretty topping. Make sure it’s cold, cold, cold. I sometimes stick my mixing bowl in the freezer for ten minutes before I start. It whips up faster and holds peaks better.
Green Food Coloring & Garnish: A few drops of green gel coloring makes them look like proper grasshoppers. It’s optional but fun. For garnish, I keep it simple: a little more whipped cream and maybe some chocolate shavings or sprinkles. Less fuss, more eating.
4) How to Make No-Bake Grasshopper Mini Cheesecakes
Step 1. Prep the Pan and Make the Crust. Line a 12-cup muffin tin with liners. Foil or parchment liners work best; they peel away cleanly. In a medium bowl, stir the chocolate crumbs and melted butter with a pinch of salt until it resembles wet sand. Spoon a heaping tablespoon into each liner. Press it down firmly with the bottom of a glass or a small measuring cup. Get it nice and compact. Slide the whole tin into the freezer. This sets the crust fast so it doesn’t mix with the filling later.
Step 2. Whip the Dreamy Filling. In a large bowl, beat the softened cream cheese with a hand mixer until it’s completely smooth. No lumps allowed. Scrape down the sides. Add the sugar, vanilla, and that careful quarter teaspoon of peppermint extract. Beat again until it’s all one happy mixture. Now, in a separate chilled bowl, whip one and a half cups of the heavy cream until you get stiff peaks. Gently fold the whipped cream into the cream cheese mixture. Use a big spatula and turn the bowl as you go, just until no white streaks remain. If you’re using food coloring, fold it in now.
Step 3. Assemble and Let Magic Happen. Pull your crusts from the freezer. Divide the minty filling among them. You can spoon it or pipe it for a neater look. Smooth the tops with the back of a spoon. Cover the tin loosely with plastic wrap—this is key—and refrigerate for at least four hours. I know, the wait is the hardest part. But this chill time is what turns the soft filling into a perfect, sliceable mini cheesecake. Overnight is even better.
Step 4. The Finishing Touches. Right before you’re ready to serve, whip the last cup of cold heavy cream with two tablespoons of powdered sugar until you get soft peaks. Dollop or pipe a little cloud onto each cheesecake. Add your chocolate shavings or sprinkles. Then, dig in. The contrast of the cool, minty filling with the crisp chocolate crust is everything.
5) Tips for Making No-Bake Grasshopper Mini Cheesecakes
Let’s talk about the peppermint extract again, because it’s the one thing that can go sideways. It’s intensely concentrated. I learned this the hard way with a batch that tasted like toothpaste. Start with the quarter teaspoon the recipe calls for. Once everything is mixed, give it a tiny taste. Want more minty zing? Add just a drop or two at a time, mixing well between each. It’s way easier to add than to fix.
Your cream cheese must be soft. I mean, spreadably, squishably soft. If it’s cold, you’ll get lumps no matter how long you mix, and those lumps will stubbornly survive the folding process. Room temperature is your friend here. If you’re in a pinch, take the block out of the foil, put it on a plate, and microwave it for about 15 seconds. Flip it over and do another 10 if needed. Just don’t let it melt.
Don’t skip the long chill. I get it, you want to eat them now. But the refrigeration time isn’t a suggestion; it’s the final step that makes these cheesecake recipes no bake actually work. The filling needs those hours to set up firm and creamy. If you try to serve them too soon, they’ll be a delicious but soupy mess. Patience rewards you with perfect little desserts that hold their shape.
6) Making No-Bake Grasshopper Mini Cheesecakes Ahead of Time
These are practically designed for make-ahead magic. In fact, I think they taste better the next day. The flavors have more time to get to know each other, and the texture becomes absolutely dreamy. You can assemble them completely, right up to adding the crust and filling, two full days before you need them. Just keep them covered tightly in the fridge.
Hold off on the final whipped cream topping and any garnish until the day you’re serving. Whipped cream can weep a little and lose its fluff if it sits too long. It takes two minutes to whip up fresh, and it makes all the difference in presentation. Store the garnishes separately, too.
If you’re in a serious time crunch, the freezer can be your speed-chill assistant. After assembling, pop the whole tray in the freezer for about 90 minutes instead of the fridge for four hours. They’ll set up faster. Just let them sit at room temperature for five or ten minutes before you add the topping and serve, so they aren’t rock hard. This trick has saved me more than once when surprise guests were on their way.
7) Storing Leftover No-Bake Grasshopper Mini Cheesecakes
Leftovers? That’s a cute idea. In my house, they vanish. But if you do have a couple survivors, they keep beautifully. Leave them in their liners and transfer them to an airtight container. They’ll stay fresh in the fridge for up to four days. The crust might soften a tiny bit on the bottom by day three or four, but the flavor will still be fantastic.
You can also freeze them for longer storage. Freeze the cheesecakes (without the fresh whipped cream topping) on the tray until solid, then wrap each one individually in plastic wrap and pop them all into a freezer bag. They’ll keep for about a month. Thaw overnight in the fridge before serving. I don’t recommend freezing them with the fresh whipped cream on top, as it doesn’t thaw well.
A quick note about the texture after freezing and thawing: it will be slightly denser than when fresh, but still utterly delicious. It’s a great way to have a single-serving dessert ready for a random craving. Just think of it as your secret stash for a rainy day.
8) Try these Dessert next!

9) No-Bake Grasshopper Mini Cheesecakes
No-Bake Grasshopper Mini Cheesecakes
Ingredients
For the Crust
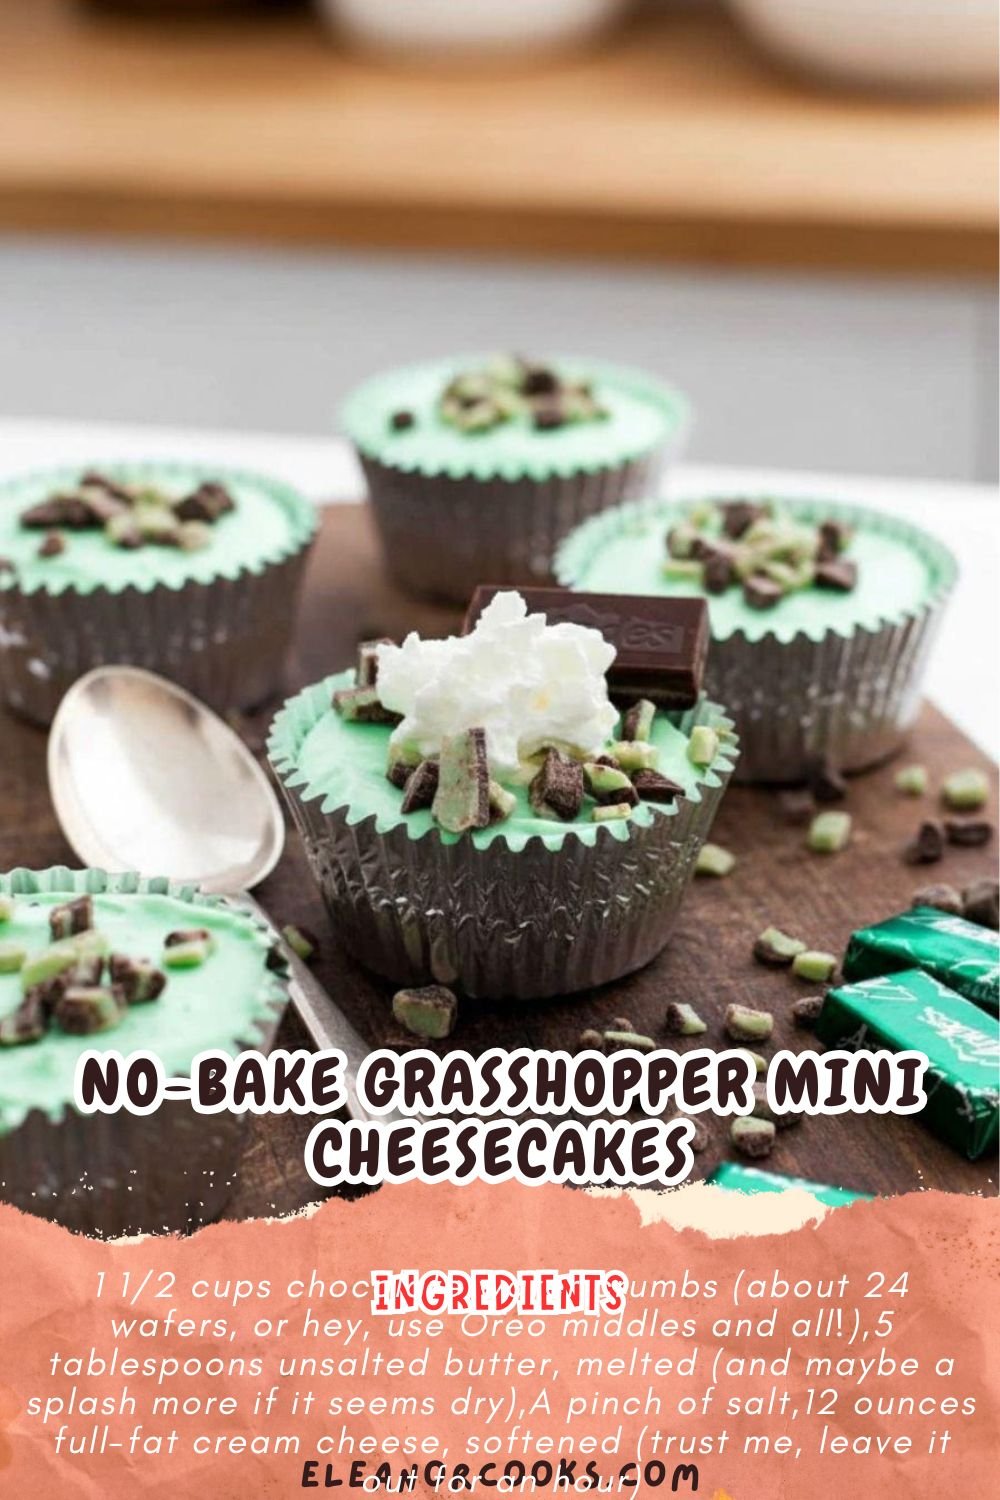
- 1 1/2 cups chocolate wafer crumbs (about 24 wafers, or hey, use Oreo middles and all!)
- 5 tablespoons unsalted butter, melted (and maybe a splash more if it seems dry)
- A pinch of salt
For the Filling
- 12 ounces full-fat cream cheese, softened (trust me, leave it out for an hour)
- 1/2 cup granulated sugar
- 1 teaspoon pure vanilla extract
- 1/4 teaspoon peppermint extract (go slow, this stuff is potent!)
- A few drops green food coloring (optional, but so fun)
- 1 1/2 cups cold heavy whipping cream
For the Topping
- 1 cup cold heavy whipping cream
- 2 tablespoons powdered sugar
- Chocolate shavings or sprinkles, for garnish
Instructions
Make the Crust
- Grab a standard 12-cup muffin tin and line it with paper or foil liners. This is non-negotiable unless you enjoy chiseling.
- In a medium bowl, mix the chocolate crumbs, melted butter, and salt until it looks like wet sand. It should clump when you squeeze it.
- Divide the mixture evenly among the liners (about a heaping tablespoon each). Press it down firmly with the bottom of a glass or a spoon. Pop the whole tin in the freezer to set while you make the filling.
Whip Up the Filling
- In a large bowl, beat the softened cream cheese with an electric mixer until it’s smooth and no lumps remain. Scrape down the sides.
- Add the sugar, vanilla, and peppermint extract. Beat again until fully combined. Toss in the food coloring now if you’re using it.
- In a separate, clean bowl (chill the bowl and beaters first for best results), whip the 1 1/2 cups of heavy cream until you get stiff peaks.
- Gently fold the whipped cream into the cream cheese mixture. Go slow and be gentle until no white streaks remain.
Assemble & Chill
- Pull the crusts from the freezer. Spoon or pipe the minty filling over each crust, smoothing the tops.
- Cover the tin loosely with plastic wrap and refrigerate for at least 4 hours, but honestly, overnight is magic.
Finish & Serve
- Right before serving, whip the remaining 1 cup of heavy cream with the powdered sugar until soft peaks form.
- Dollop or pipe a bit onto each mini cheesecake. Garnish with chocolate shavings.
- Serve immediately and prepare for compliments. Keep any leftovers (ha!) in the fridge.
10) Nutrition
Serving Size: 1 mini cheesecake | Calories: 320 | Sugar: 22 g | Sodium: 180 mg | Fat: 24 g | Saturated Fat: 15 g | Carbohydrates: 25 g | Fiber: 1 g | Protein: 4 g | Cholesterol: 70 mg


Leave a Comment